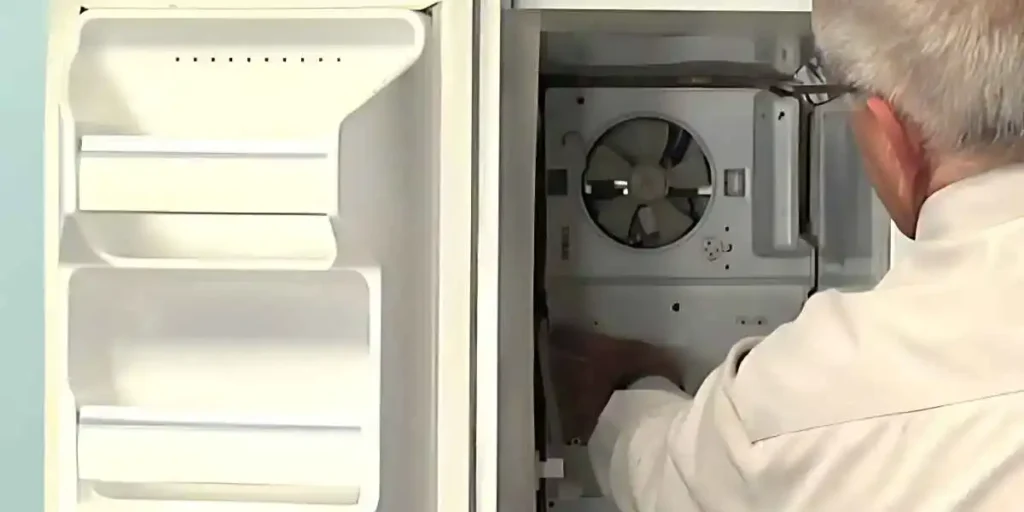
Are you tired of the noisy fan in your GE refrigerator? Wondering how to make it quieter? Get ready to dive into the world of refrigerator repairs!
I’ll be your trusty guide, showing you step-by-step how to fix that bothersome evaporator fan noise. Together, we’ll restore peace and quiet to your kitchen.
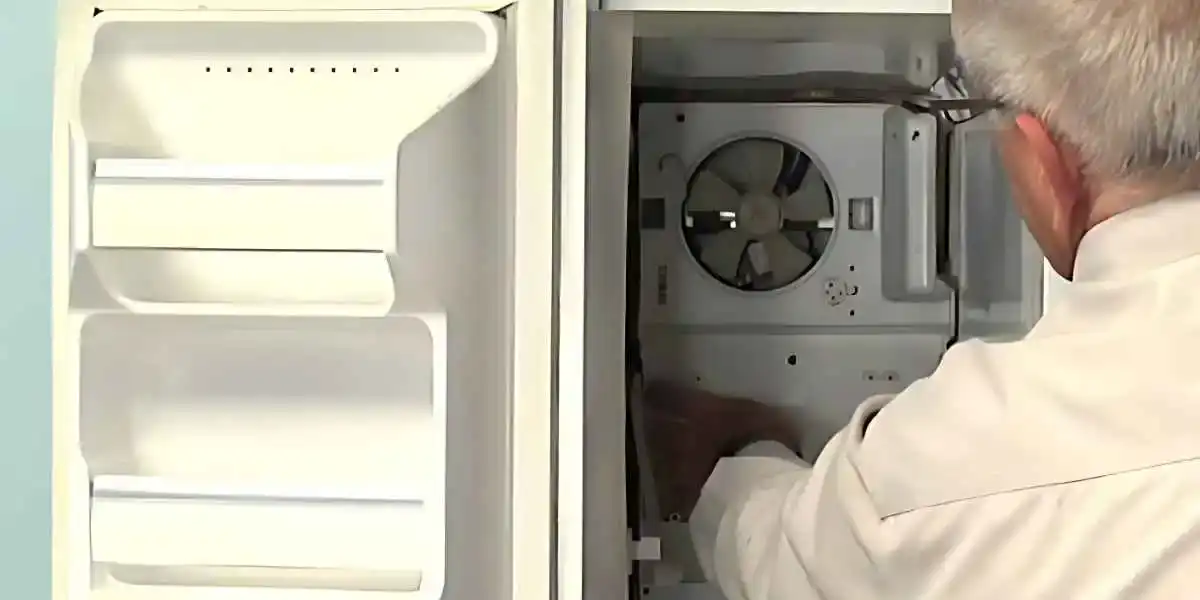
GE Refrigerator Evaporator Fan Noise
Is your GE refrigerator making a loud noise? If you hear it near the bottom rear, it’s probably the condenser fan motor.
But if the noise gets louder when you open the freezer, it’s likely the evaporator fan motor grommet causing excessive noise and vibrations.
5 Reasons For Evaporator Fan Noise In GE Refrigerators
1. Obstructed Fan Blade
One possible cause is an obstructed fan blade. The fan blade may rub against something or have something stuck in it, causing noise[1].
When you open your fridge, you’ll likely hear the noise louder[3].
Here’s what to do:
- Access the evaporator fan in your freezer behind the back panel.
- Try turning the fan blade by hand.
- Check if the blade is rubbing against something or if something is stuck in it.
- If you find any obstructions, remove them.
2. Faulty Evaporator Fan Motor
Another possible cause is a faulty evaporator fan motor. This can often generate a lot of noise, especially when you open the refrigerator door[1].
Here’s how to address it:
- Access the evaporator fan in your freezer behind the rear panel.
- If the fan is noisy, you’ll need to replace the fan motor.
3. Defective Motor Grommet

If the evaporator fan motor grommet slips off or wears down, it can lead to increased vibrations and noise[10].
The motor grommet stops the motor from rubbing against the bracket. When it wears down or slips, noise results.
Here’s how to fix it:
- Examine the area between the evaporator fan motor and the mounting bracket.
- If the grommet is worn down or out of place, replace it.
4. Ice Build-up and Loose Components
Ice buildup or loose components can also cause evaporator fan noise[4].
Here’s how to tackle these issues:
- Inspect for ice buildup and defrost the refrigerator if necessary.
- Check for loose fan blades and tighten them.
- Realign the fan motor if it’s out of place.
- Examine for obstructions and remove any foreign objects.
5. Faulty Compressor
A faulty compressor may also cause your GE refrigerator to make a revving noise[8].
If you suspect a faulty compressor:
- Move your refrigerator away from the wall.
- Remove the bottom panel at the back.
- Listen to the compressor without turning off or unplugging the fridge.
- If you hear noise from the compressor, you’ll need to replace it.
Steps To Fix Evaporator Fan Noise In Your GE Refrigerator
Step 1: Unplug Your Refrigerator
It’s very important to start with unplugging your refrigerator. By doing this, you ensure your safety while working.
Electricity and water can be a dangerous combination, so let’s avoid that.
Step 2: Identify the Noise Source
Once it’s safe, let’s play detective! We want to find where the noise is coming from. Listen closely to your refrigerator.
If the noise is louder near the freezer, the evaporator fan might be our culprit.
Step 3: Access the Evaporator Fan
To see the evaporator fan, we need to get inside your freezer. Start by removing all the food items. Once it’s empty, take out the shelves too.
They can usually just lift out.
Step 4: Remove the Panel
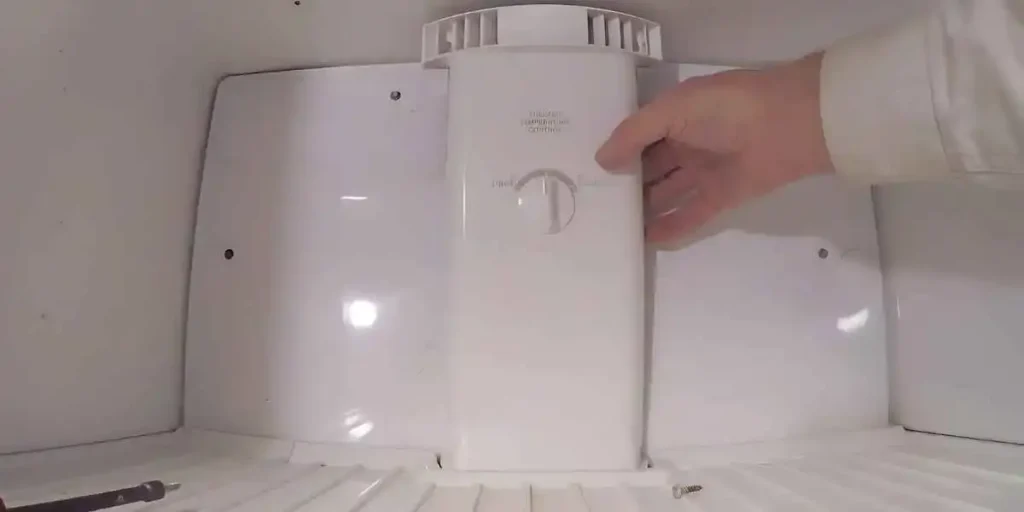
Now, look at the back of the freezer. You’ll see a panel there. This panel is kept in place by some screws.
Take a screwdriver and remove these screws. With the screws gone, you can take off the panel.
Step 5: Examine the Evaporator Fan
With the panel gone, you can see the evaporator fan. Look at it carefully. You’re checking for anything that could make the fan noisy.
This might be ice or food that’s stuck to it, or the fan itself could be damaged.
Step 6: Clear Obstructions
Improper clearances between the fan blades and other refrigerator components can result in noise.
Verify that there is adequate space between the fan blades and surrounding structures such as coils or housing.
If you notice any interference, carefully adjust the positioning or clear any obstacles to providing sufficient clearance for the fan’s rotation.
Step 7: Inspect Fan Motor Bearings:
Worn or damaged fan motor bearings can lead to increased noise levels. While the refrigerator is unplugged, locate the fan motor and gently rotate it by hand.
Pay attention to any unusual resistance or grinding sensations. If you notice any issues, it may be necessary to replace the fan motor to restore quiet operation.
Step 8: Check Fan Blades
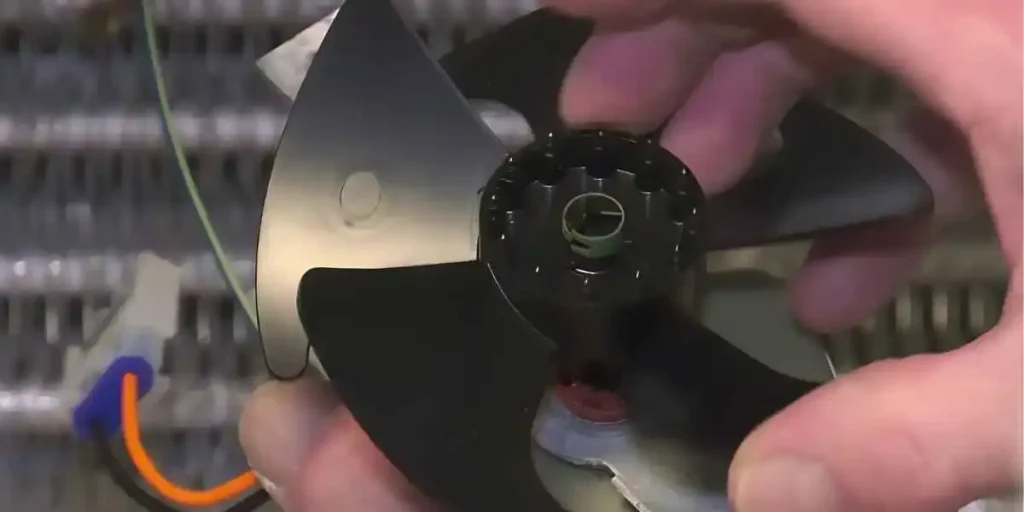
Now look at the fan blades. Are they bent or broken? If they are, this could be causing the noise.
In this case, you will need a new fan.
Step 9: Order a Replacement Fan
To get a new fan, you need to order one from GE. Make sure to order a fan that’s made for your model refrigerator. Each model is a little different!
Step 10: Replace the Fan
Once you get your new fan, you can put it in your refrigerator. Take out the old fan and put in the new one.
It needs to be secure, so make sure it’s installed correctly.
Step 11: Reassemble Your Refrigerator
With the new fan in place, put your refrigerator back together. The panel goes back on first.
Remember those screws you took out? Put those back in to hold the panel. After that, the shelves go back in, and finally, your food.
Step 12: Power Up Your Refrigerator
Your last step is to plug in your refrigerator again. Listen carefully. Is it quiet now? If so, you did a great job fixing your refrigerator!
Maintenance Tips for a Quieter GE Refrigerator
Inspect and Clean the Condenser Coils:
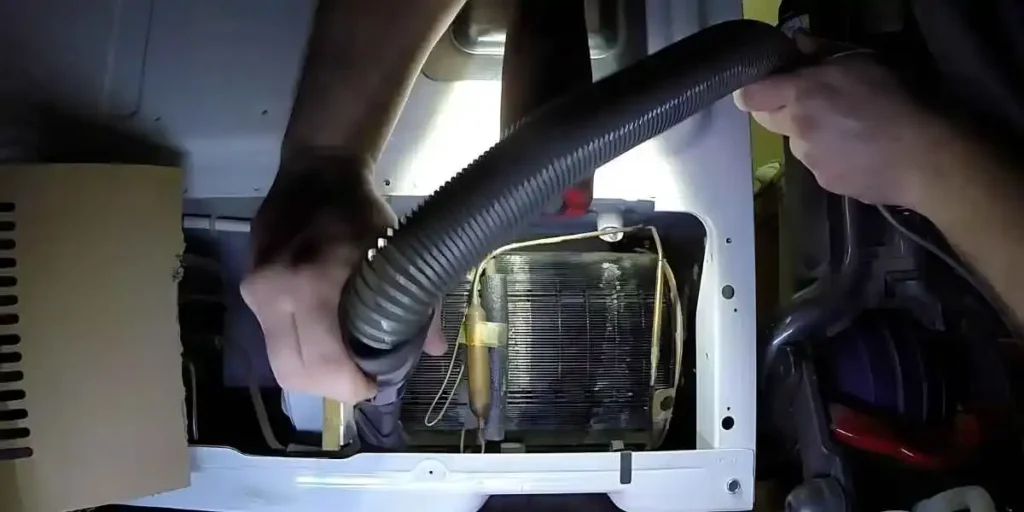
The condenser coils of your GE refrigerator can collect dust and debris over time, leading to increased noise levels.
Locate the coils at the back or underneath the unit to maintain a quieter refrigerator. Use a vacuum or soft brush to remove any dirt or dust buildup gently.
Cleaning these coils about once every six months can help improve efficiency and reduce noise.
Check and Tighten the Screws:
Loose screws can contribute to rattling or vibrating noises in your GE refrigerator. Take a moment to inspect the screws around the refrigerator, including those on the door handles and hinges.
Using a screwdriver, tighten any loose screws you find. This simple step can minimize noise caused by loose components and ensure a quieter operation.
Level the Refrigerator:
An improperly leveled refrigerator can create unnecessary noise. Check the leveling of your GE refrigerator by placing a level tool on top of the unit.
If it indicates an uneven surface, adjust the leveling legs at the front or rear of the refrigerator to achieve a balanced position.
Ensuring proper leveling can help reduce vibrations and unwanted noise.
Clear the Drain Pan:
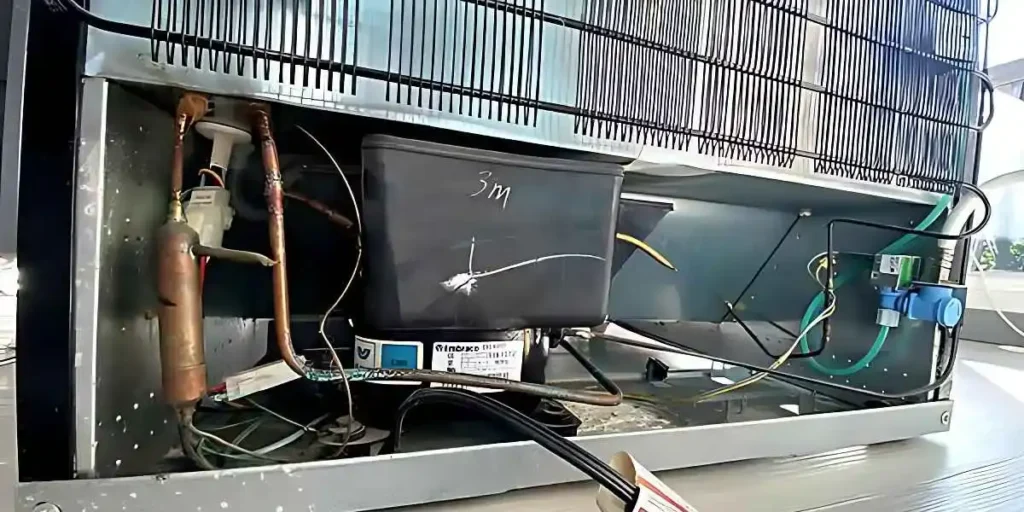
The drain pan located beneath your GE refrigerator can accumulate water and debris over time. This buildup can result in a humming or gurgling noise.
To address this, carefully remove the front grill and locate the drain pan. Empty any collected water and clean the pan using mild detergent and warm water.
Once cleaned, reposition the drain pan properly to reduce noise.
Inspect the Fan and Motor:
The evaporator fan and motor are vital components that can generate noise if they become worn or faulty.
Inspect these parts for any signs of damage or debris. Clear away any obstructions and ensure the fan blades are clean and free from dust.
If the noise persists, it may be necessary to replace the fan or motor with genuine GE parts.
Ensure Proper Air Circulation:
Blocked or restricted airflow can contribute to a louder refrigerator. Check for any objects or packaging that may be obstructing the vents inside the refrigerator or around the condenser coils.
Clear any blockages and ensure proper air circulation for improved cooling efficiency and reduced noise levels.
Frequently Asked Questions (Faqs) About GE Refrigerator Evaporator Fan Noise
Can I Stop The Noise Temporarily Without Repairing The Fan?
Yes, you can temporarily stop the noise from your GE refrigerator’s evaporator fan by turning off the unit for a few minutes.
This will allow the fan to stop spinning and the noise to subside. However, it is important to address the underlying issue to prevent further problems.
Is It Normal For A GE Refrigerator’s Evaporator Fan To Make Noise?
While some noise from the evaporator fan is normal, loud or unusual noises could indicate a problem.
If you notice a significant increase in noise level or any strange sounds, it is best to investigate and address the issue promptly.
Can The Noise From The Evaporator Fan Damage My GE Refrigerator?
In most cases, the noise from the evaporator fan itself will not directly damage your GE refrigerator.
However, if the noise is caused by an underlying issue like a faulty motor or loose components, it’s important to address it to prevent further damage to the fan or other parts of the refrigerator.
Should I Attempt To Repair The Evaporator Fan Myself?
If you have experience and knowledge in appliance repair, you may attempt to fix the evaporator fan yourself.
However, it is recommended to consult a professional technician, especially if you’re unsure about the cause of the noise or lack experience in repairing refrigerators.
Conclusion
Get rid of the annoying noise in your GE refrigerator! By following these preventive measures, you can reduce evaporator fan noise and enjoy a quieter kitchen.
Inspect and clean the fan, tighten screws, ensure proper clearances, and maintain airflow.
If the noise persists, consider professional maintenance. Take control of your refrigerator’s noise and enjoy a peaceful environment in your home.

