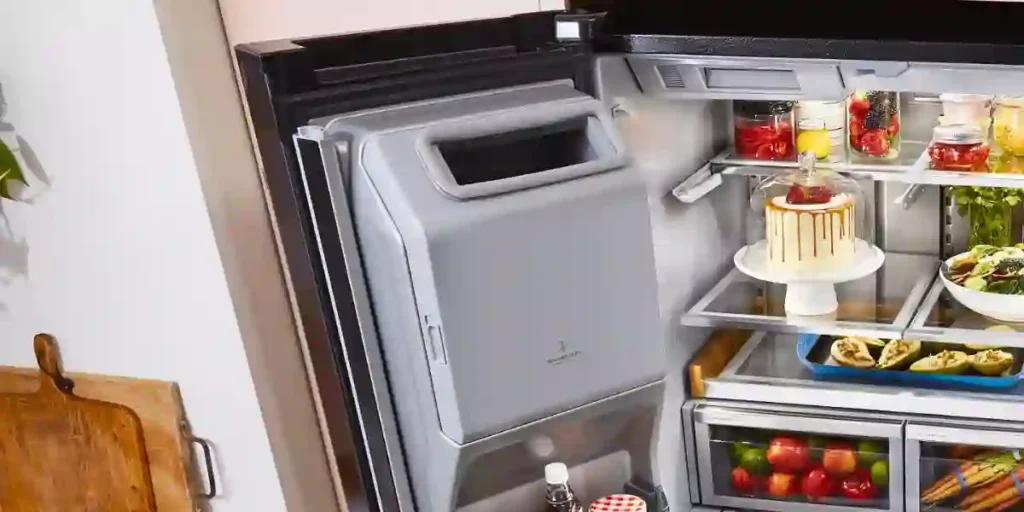
Are you experiencing issues with your KitchenAid Superba Refrigerator ice maker? Don’t worry, we’re here to help! Ice makers are a convenient addition to any refrigerator, but sometimes they can encounter problems like not producing ice. One common cause is a defective water inlet valve, which can disrupt ice production.
However, it could also be due to a frozen water supply tube or the freezer temperature being set too high.
Our guide covers these issues and more, providing you with the solutions you need to get your ice maker back up and running. Keep reading to fix your KitchenAid refrigerator ice maker.
What Is the KitchenAid Superba Refrigerator Ice Maker?
The KitchenAid Superba Refrigerator Ice Maker is an advanced appliance designed to enhance your kitchen experience.
This ice maker is part of the Superba series, which is known for its no-frost refrigerator-freezer.
It’s equipped with a water filter and automatic ice maker, ensuring you always have fresh and clean ice at your disposal.
The ice maker operates by circulating water over a freezing plate. As the water freezes into ice, the minerals in the water are rejected, producing a sheet of ice with low mineral content.
Once the desired thickness is reached, the ice sheet is released and slides onto a cutter grid that divides the sheet into individual cubes.
The Superba Ice Maker also features a Max Ice function that increases cooling in the freezer compartment to boost ice production.
With its user-friendly features and innovative technology, the KitchenAid Superba Refrigerator Ice Maker is a must-have for every modern kitchen.
Key Features
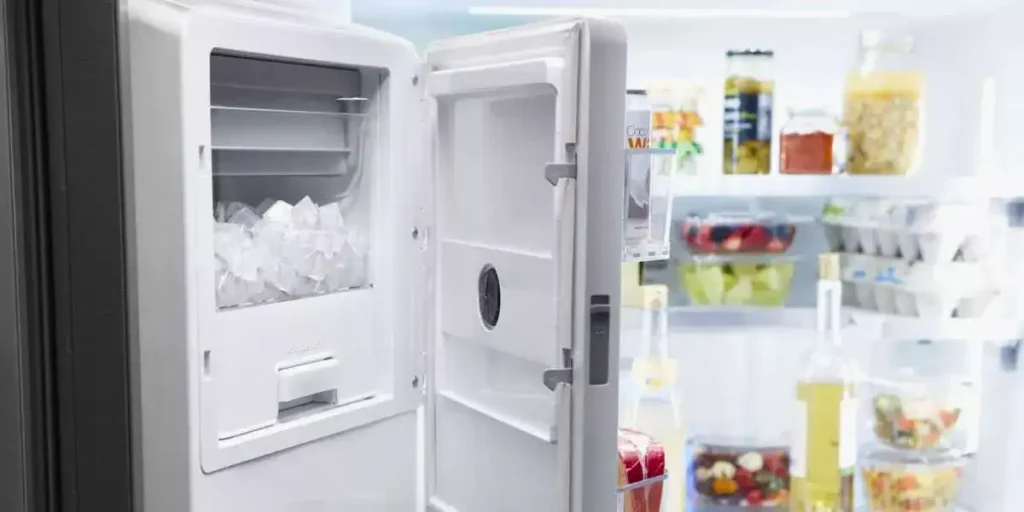
- The ice maker includes a condensed User Guide.
- The model number is located on the inside of the ice maker.
- The ice-making process involves water being constantly circulated over a freezing plate.
- As the water freezes into ice, the minerals in the water are rejected.
- This produces a sheet of ice with a low mineral content.
- When the desired thickness is reached, the ice sheet is released and slides onto a cutter grid.
- The grid divides the sheet into individual cubes.
- The water containing the rejected minerals is drained after each freezing cycle.
- Fresh water enters the machine for the next ice-making cycle.
- Cubes fall into the storage bin.
- When the bin is full, the ice maker shuts off automatically and restarts when more ice is needed.
Size and Dimensions
The KitchenAid Superba 42 measures 26 1/4 inches deep by 83 3/8 inches high, with a width of 42 1/4 inches.
The total capacity of the refrigerator is 25.3 cubic feet, with a freezer compartment capacity of 9.4 cubic feet and a refrigerator compartment capacity of 15.9 cubic feet.
The Ice-Making Capacity of the KitchenAid Superba Refrigerator Ice-Maker
The typical amount of ice cubes varies by refrigerator type. For example, if your refrigerator has an ice maker located in the upper left corner of the refrigerator section, it should produce 80-120 cubes during normal operating conditions.
Below is the ice-making capacity of the KitchenAid Superba refrigerator ice maker depending on the model of the refrigerator:
Freezer Only
The ice maker and ice bin are located in the bottom freezer compartment. This type of ice maker should produce 56 – 72 cubes, during normal operating conditions.
Refrigerator – Bin Not on Door
The ice maker and ice bin are in the upper left corner of the refrigerator section. This type of ice maker should produce 80-120 cubes, during normal operating conditions.
Refrigerator – Bin on Door
The ice maker is located in the upper left corner of the refrigerator compartment and the ice bin is located on the door.
This type of ice maker should produce 100 – 140 cubes, during normal operating conditions.
Dual Ice Makers
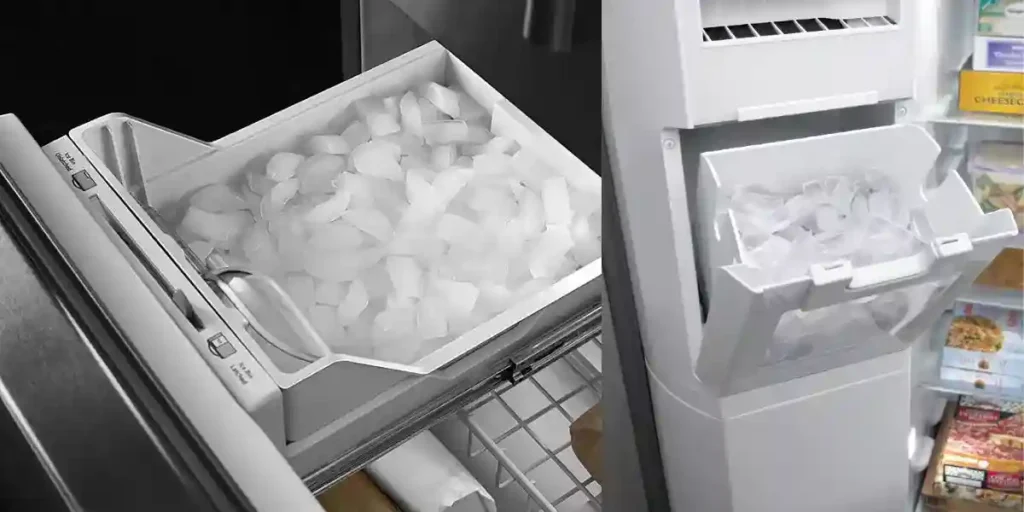
There are two Ice Makers – One on the door and one in the freezer section. This type of ice maker should produce 147 – 252 cubes, during normal operating conditions.
It can take up to 2 – 3 days (depending on usage) to fill the ice bin.
Types of Ice Produced by the KitchenAid Superba Refrigerator
The KitchenAid Superba refrigerator ice maker produces two types of ice: cube ice and crushed ice.
Cube Ice
It cools liquid more quickly due to more surface area. It’s also ideal for drinks that are sipped slowly, as it melts more slowly than crushed ice, keeping your drink colder for longer.
However, it can cause dental problems such as enamel loss and tooth decay if consumed regularly.
Advantages
Efficient Cooling: Cube ice has a larger surface area compared to other ice shapes. This allows it to cool drinks more quickly, making it ideal for beverages that need to be served cold immediately.
Slow Melting: Cube ice melts more slowly than crushed ice. This is beneficial for drinks that are sipped slowly, as it keeps your drink colder for a longer period without diluting it.
Disadvantages
Dental problem: Consuming cube ice can cause dental problems such as enamel loss and tooth decay if chewed regularly.
Potential Dental Problems: Regular chewing on cube ice can lead to dental problems. The hardness of the ice can cause enamel loss and tooth decay
It’s recommended to let the ice melt in your mouth rather than chew on it to avoid these issues.
Crushed Ice
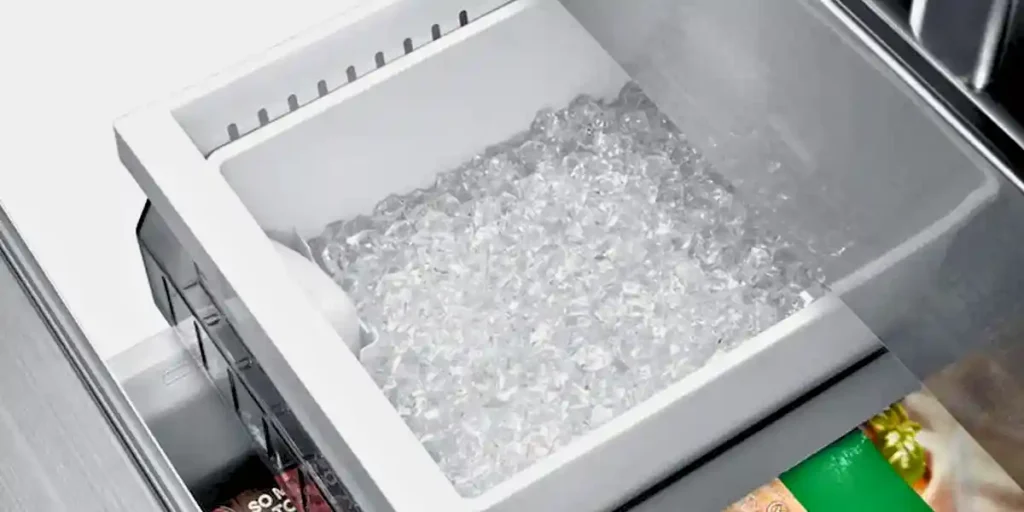
It provides quick cooling and can help relieve dry mouth. Crushed ice provides quick cooling and is perfect for blended drinks like smoothies and cocktails. It can also help relieve dry mouth.
But it can also indicate an underlying condition that needs medical attention if consumed continually. It can also damage teeth.
Advantages
Quick Cooling: Crushed ice cools drinks faster due to its smaller pieces and greater surface area in contact with the liquid.
Ideal for Blended Drinks: Crushed ice is perfect for blended drinks like smoothies and cocktails, as it blends easily and creates a smoother texture.
Relief for Dry Mouth: Chewing on crushed ice can stimulate saliva production, which can help relieve dry mouth.
Disadvantages
Potential Dental Problems: Like cube ice, regularly chewing on crushed ice can damage teeth. The cold temperature and hardness of the ice can cause tooth sensitivity and enamel erosion.
Possible Sign of Underlying Condition: Craving and chewing on crushed ice frequently could indicate an underlying condition such as iron deficiency anemia.
If you find yourself frequently craving crushed ice, it’s recommended to consult a healthcare professional.
Installation and Initial Setup of the KitchenAid Superba Refrigerator
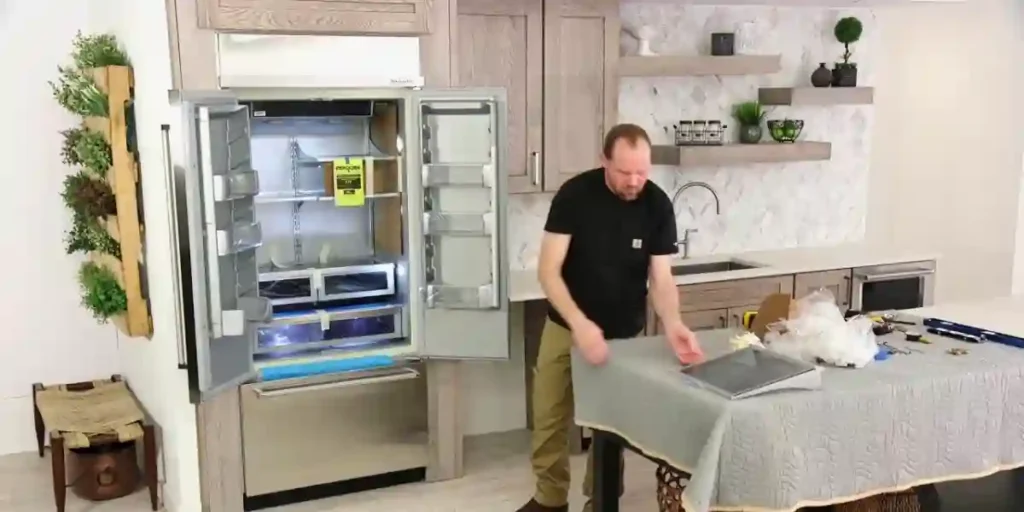
Basic Setup Requirements
Location
Choose a location for your refrigerator that is near a grounded electrical outlet. Do not use an extension cord or an adapter plug.
When choosing a location for your KitchenAid Superba Refrigerator, there are several considerations to keep in mind:
Level Surface
The refrigerator should be placed on a level surface. A refrigerator that is not leveled correctly and/or does not have the doors properly aligned could have some of the following concerns:
Doors unable to close or seal properly; Frost build-up or moisture problems; Temperature fluctuation; Unable to properly align the doors.
Steps to properly level your KitchenAid Superba Refrigerator:
- Disconnect the refrigerator from the electric power and open the doors.
- Make sure the floor under the refrigerator is level. If the floor is not level, shims may need to be used to properly level the refrigerator.
- Turn leveling legs to the right to lower it or turn them to the left to raise it.
- If you have a French Door Model with Non-Adjustable Rollers, unplug the refrigerator and remove the base grill. If you have a French Door Model with Adjustable Rollers, grab both ends of the base grill that jut out and gently but firmly pull it out toward you.
- If the refrigerator pulls out, rocks, or is not stable, additional adjustments may be needed.
Space for Bins and Shelves
Ensure there is enough space to open the bins and shelves. The bins or shelves may not open or close properly if they have not been installed correctly.
Ventilation
Like all refrigerators, your KitchenAid Superba also needs space for ventilation. Make sure there is enough clearance around the refrigerator for air to circulate.
Away from Heat Sources
To ensure efficient operation, the refrigerator should be placed away from direct sunlight and other sources of heat like an oven or a heater.
Water Line Connection
Water Supply
A cold water supply with water pressure between 30 and 120 psi is required to operate the water dispenser and ice maker.
If you have questions about your water pressure, call a licensed, qualified plumber.
Connect
Connect the water supply line to the refrigerator. Instructions for this are usually included in the installation manual.
If you are uncomfortable doing this yourself, you should contact a professional.
Power Requirements
Electrical Connection
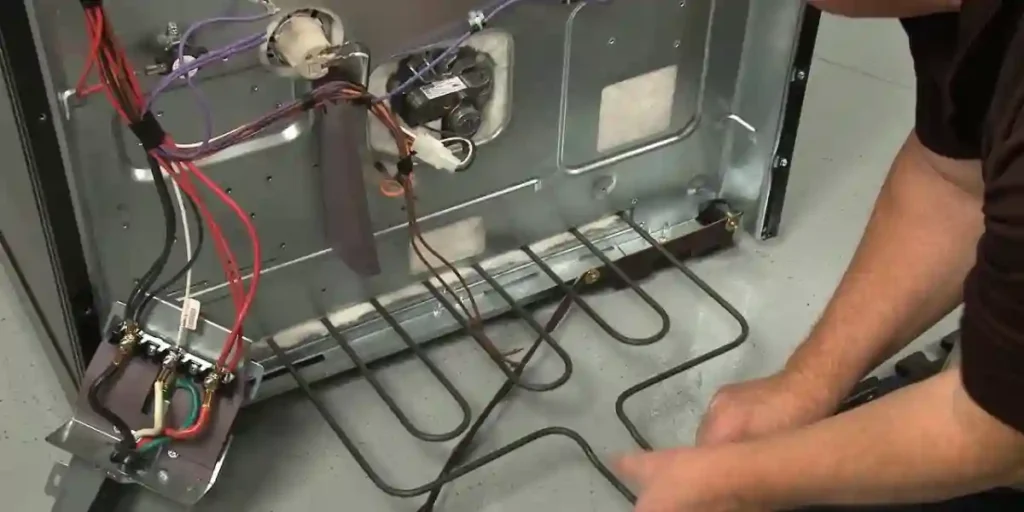
A 115 Volt, 60 Hz., AC only, 15- or 20-amp fused grounded electrical supply is required. It is recommended that a separate circuit serving only your refrigerator be provided.
Calibration
Temperature Control
Upon installation, set the refrigerator temperature to the middle setting and adjust it up or down as necessary. It takes 24 hours for the refrigerator to cool down completely.
Adjusting the temperature control to maintain the freshness and quality of your food:
- The controls are set correctly when milk or juice is as cold as you like and when ice cream is firm.
- If you need to adjust the temperature, wait at least 24 hours between adjustments and then recheck the temperature. To make the refrigerator colder, adjust the control to the next higher setting. To make the refrigerator less cold, adjust the control to the next lower setting.
- For refrigerators with a digital control panel, press the (+) or (-) touch pads until the desired temperature is displayed.
- Different zones of your refrigerator yield different temperatures. For example, door compartments tend to be slightly warmer due to temperature fluctuations when opening and closing the door. They are ideal for preserving less perishable items, such as chutney or almond butter. Whereas, the bottom shelf and the back of the fridge tend to be the coldest, making these zones ideal for meats and dairy.
Ice Maker Control
The ice maker will produce seven cubes per cycle—approximately 100–130 cubes in 24 hours, depending on freezer compartment temperature, room temperature, number of door openings, and other use conditions.
Troubleshooting Common Issues KitchenAid Superba Refrigerator Ice Maker
Ice Maker Not Making Ice
This could be due to several reasons such as the ice maker not being turned on, the water supply line not being connected, or the shut-off valve not being open.
It could also be due to a clogged water filter, a faulty motor or control module, or a frozen water supply tube.
Symptoms include no or slow ice production, small or oddly-shaped cubes, or a water leak.
Ice Tastes Bad
If the ice has an unusual odor or taste, it could be due to the type of water used in the ice maker. Hard water, for example, can cause the ice to be cloudy or have a strange taste.
This could also be due to a dirty ice maker where food particles, dust, or mildew have accumulated or an old or clogged water filter. Symptoms include ice with an unusual odor or taste.
Ice Maker Making Too Much Ice
If the ice maker is producing too much ice, it could be due to a faulty shutoff arm or switch.
This could also be due to the ice maker not being level, the bin sensor being blocked or dirty, or the accelerated ice feature being turned on. Symptoms include an overfilled ice bin or ice spilling out of the bin.
Water Leaks
If there is water leaking from the ice maker, it could be due to a clogged or frozen water supply line, a faulty water inlet valve, or a damaged water line.
Symptoms include water pooling around the ice maker or leaking from the dispenser.
Power Issues
If the ice maker is not getting power, it could be due to a faulty electrical connection or a blown fuse.
It could also be due to the ice maker being turned off, the ice maker being jammed, the water filter needing to be replaced, or the water system needing to be flushed.
Symptoms include no power to the ice maker or no response when pressing the ice dispenser button.
Noisy Operation
Your KitchenAid Ice Maker makes different noises while it is producing ice. Most of these noises and sounds are normal.
But if the ice maker is making unusual noises, it could be due to a faulty motor or fan, or a loose or damaged component.
Symptoms include grinding, buzzing, or rattling noises coming from the ice maker.
Solutions for the Common Issues with the KitchenAid Superba Refrigerator Ice Maker
Ice Maker Not Making Ice
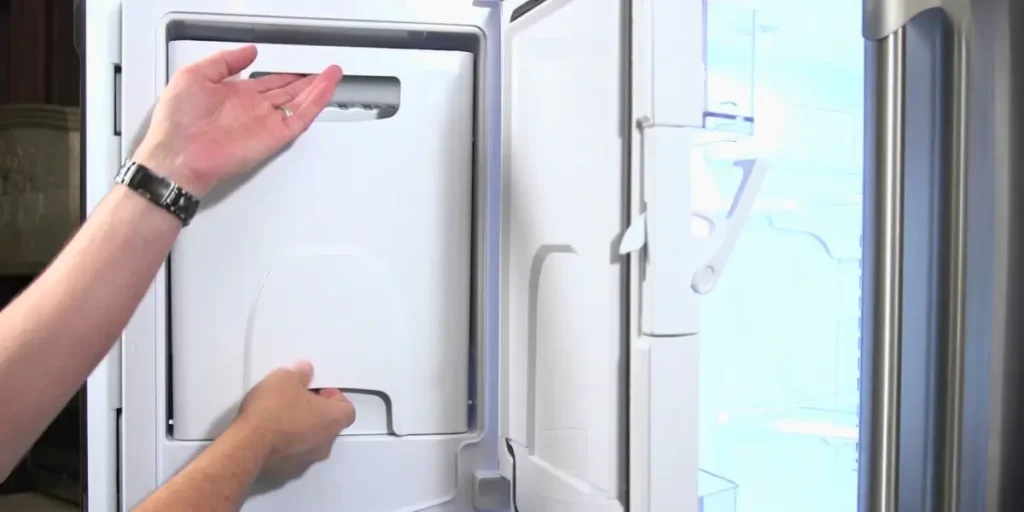
Ensure that the ice maker is turned on and not paused and arm is in the “down” position. Check to make sure the water supply line is connected and the shut-off valve is open.
Change your refrigerator’s water filters once every six months or as needed, and look out for signs of an old or clogged filter.
Make sure to check the temperature settings for both your refrigerator and freezer. The freezer should be set to 0°F (-18°C), while the refrigerator temperature should be between 33–40°F (0–4°C).
Quick-Fixing Process: Try resetting the ice maker by turning it off and then on again. Refer to the product manual for specific instructions on how to do this.
Ice Tastes Bad
Check the water supply and make sure it is clean and free of contaminants. Check the water filter and replace it if necessary.
Quick-Fixing Process: Try running the ice maker for a few cycles and discarding the ice to flush out any contaminants.
Ice Maker Making Too Much Ice
Check to make sure the ice maker is level. Check the bin sensor to make sure it is not blocked or dirty and the accelerated ice feature is not turned on.
Quick-Fixing Process: Adjust the shutoff arm or switch to the correct position to stop ice production when the bin is full.
Water Leaks
When checking the water supply line, ensure the water supply is properly connected to a cold water supply and the water shutoff valve is fully opened.
Next, check to make sure there are no kinks in the water supply line. A kink in the line can reduce water flow. Straighten the water source line to restore adequate water flow and pressure.
Quick-Fixing Process: Turn off the water supply and unplug the refrigerator. Check for any leaks or damage to the water supply line or valve. Refer to the product manual for specific instructions on how to do this.
Power Issues
Verify that the ice maker is turned on. If the ice maker’s water supply is not connected to a water supply line, turn the ice maker off.
Quick-Fixing Process: First, ensure that ice is not jammed in the ejector arm of the ice maker. Remove jammed ice from the ejector arm using only a plastic utensil so the ice maker is not damaged.
Noisy Operation
Check the motor or fan and make sure they are working properly. Check for any loose or damaged components and tighten or replace them if necessary.
Quick-Fixing Process: Clean the ice maker and surrounding area to remove any debris or obstructions that may be causing the noise.
Maintenance and Care Tips for KitchenAid Superba Refrigerator Ice Maker
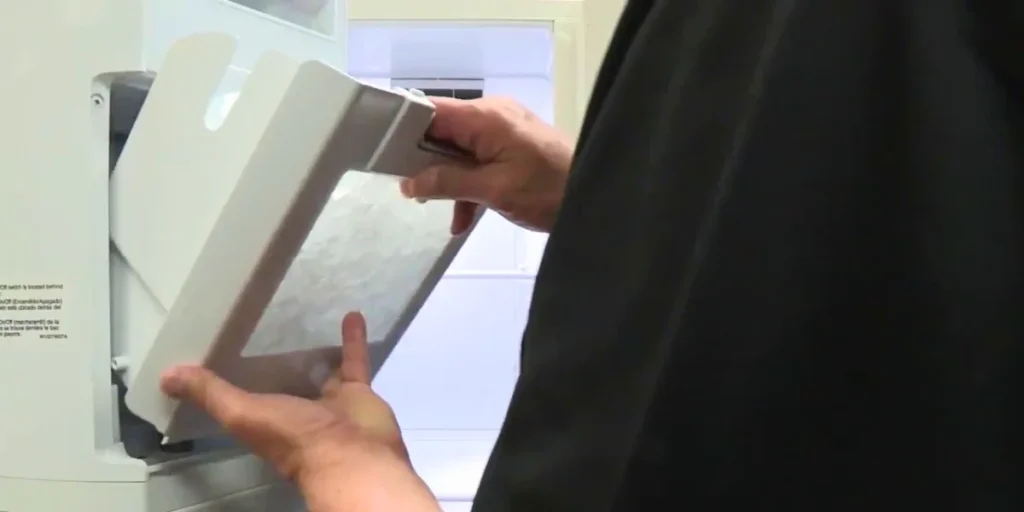
Cleaning Frequency
Regular cleaning is necessary to ensure the ice maker functions properly. It’s recommended to clean the ice maker every six months or more frequently if necessary.
Filter Replacement
The filter in your ice maker plays a vital role in ensuring the ice produced is clean and tastes good.
It’s important to replace the filter regularly, at least every six months, or sooner if you notice a change in the taste of the ice.
Importance of Filter Replacement
Replacing the filter is not just about improving the taste of your ice. It also helps to remove contaminants and impurities from the water used by your ice maker.
Steps to Replace Filter
Replacing the filter is a simple process that involves turning off the ice maker, removing the old filter, and inserting a new one. After replacing the filter, remember to turn the ice maker back on.
Storage Considerations
When storing your ice maker, ensure it is kept in a cool and dry place. Avoid placing it near heat sources or in direct sunlight.
Descale the Ice Maker
Over time, scale can build up inside your ice maker. This can affect its performance and the quality of ice it produces. Regular descaling can help maintain its efficiency.
User Manual & Warranties
Always refer to your user manual for specific maintenance and care instructions for your model. Keep track of your warranty information for any needed repairs or replacements.
Professional Services and Repairs
If you encounter any problems with your ice maker that you cannot resolve yourself, it’s best to seek professional help.
Contact KitchenAid customer service or a professional appliance repair service.
FAQs
What do I do if my KitchenAid Superba Refrigerator Ice Maker is not making ice?
Check the water supply line and make sure the ice maker is turned on. You may also need to reset the ice maker.
Why is the ice maker making loud noises?
Loud noises could be due to ice cubes jamming the mechanism. Turn off the ice maker, remove the jam, and restart it.
How do I clean the ice maker in my KitchenAid Superba refrigerator?
Refer to the owner’s manual for cleaning instructions, usually involving a mild detergent and warm water.
Why does the ice from the ice maker taste or smell bad?
Old or stale ice, food odors in the freezer, or a dirty water filter could be the cause. Replace the water filter and discard old ice.
How often should I replace the water filter for optimal ice quality?
Every 6 months or as recommended by the manufacturer to maintain optimal ice quality and flavor.
Conclusion
Keeping your KitchenAid Superba Refrigerator Ice Maker in tip-top shape is easier than you think. From tackling common issues like ice jams and water leaks to regular maintenance like water filter replacement, you’ve got this!
Don’t forget to consult your owner’s manual for specific guidance, and enjoy fresh, delicious ice whenever you want.

