GE Refrigerator Clicking But Still Cooling Issue
We may earn affiliate fees for purchases using our links (at no additional cost to you).
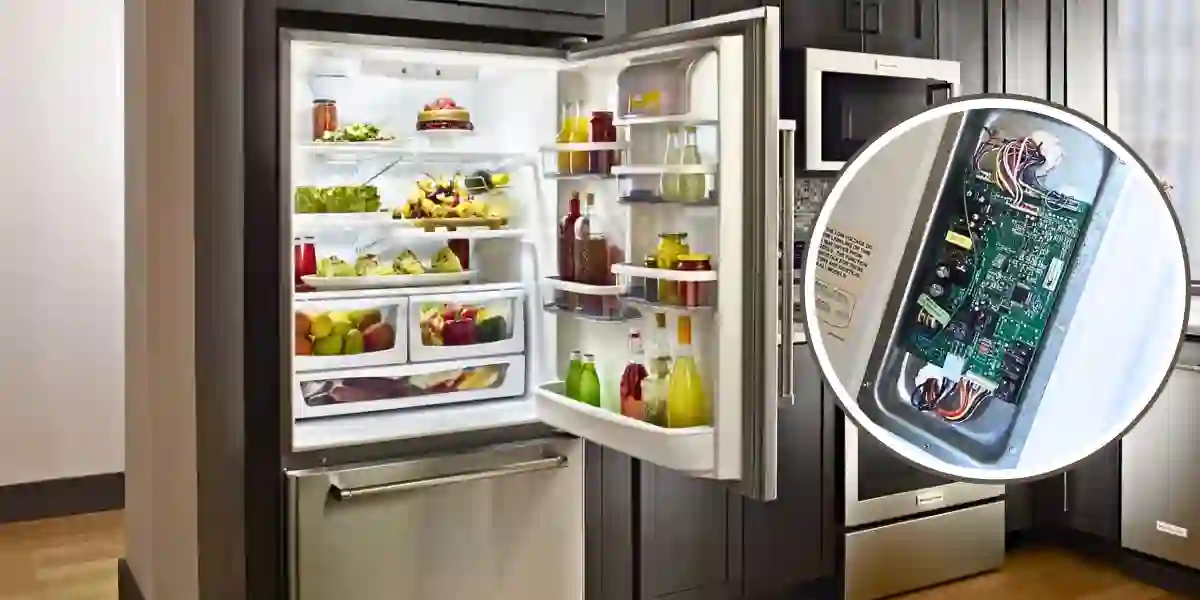
Do you facing a GE refrigerator clicking but still cooling issue? This sign can affect the refrigerator’s performance. But, it doesn’t necessarily mean your refrigerator is malfunctioning.
In fact, your refrigerator can still be cooling effectively. In this article, we will delve into the reasons why your GE refrigerator may be clicking.
We will explore common causes of clicking noises. We also provide practical insights to help you address any potential issues.

GE Refrigerator clicking but still cooling issue
When your GE refrigerator emits a clicking sound that means something is wrong. However, in some cases, the clicking noise is a normal part.
Especially when it still cooling perfectly there is a low chance of a defect in the refrigerator.
But often clicking noise indicate an operational defect. So, let’s explore a few possible reasons for the clicking sound.
Defrost Timer
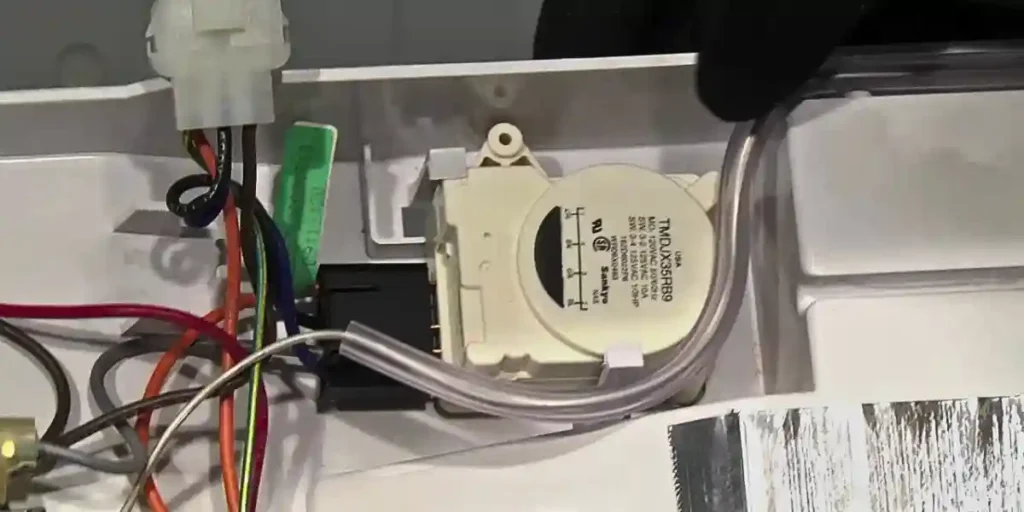
One common cause of clicking noises in a GE is the defrost timer. The defrost timer controls the cooling and defrost cycles.
During the defrost cycle, it switches the refrigerator into defrost mode. The timer may emit a clicking sound during the switching process.
This clicking noise is typically brief. It shouldn’t be a cause for concern.
Start Relay
Another component that can generate clicking noises is the start relay. The start relay is responsible for providing an initial boost of power to the compressor. This helps to initiate the cooling process in the GE refrigerator.
When the start relay becomes defective, it may produce a clicking sound. It tries to engage the compressor but failure raises the noise.
This clicking noise indicates a potential issue with the start relay. It doesn’t necessarily imply that the refrigerator is dead. Refrigerators still can cool effectively.
Temperature Control
The temperature control system can also be a source of clicking noises. When the refrigerator is actively cooling, the temperature control may periodically click.
It regulates the compressor’s operation. This clicking sound is generally normal. It shouldn’t raise any alarm unless other signs of malfunction arise.
Evaporator Fan

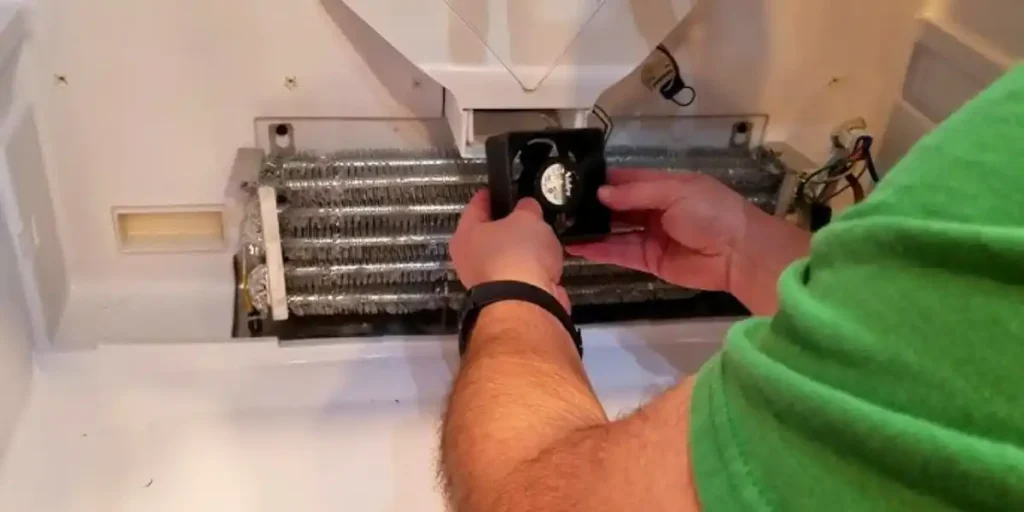
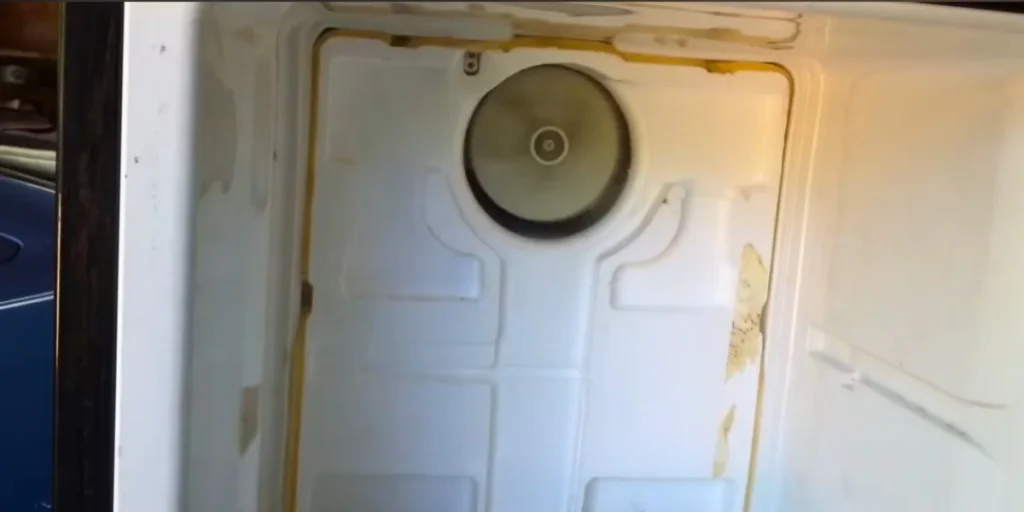
The evaporator fan circulates cold air throughout the refrigerator. That maintains the ideal temperature.
Sometimes debris or ice buildup can cause the fan blades to hit foreign objects. That creates a clicking noise.
Regularly cleaning the fan to ensure there are no obstructions. It can eliminate this clicking sound.
However, if the noise persists after cleaning, it may indicate a faulty fan motor. That requires further inspection.
Water Valve
Some refrigerators provide water dispensers or ice makers. A faulty water valve may produce clicking sounds when attempting to dispense water. Or fill the ice tray.
Diagnosing and Fixing GE Refrigerator Clicking Noise
When you encounter a clicking noise it’s important to determine its source. This will help you understand the underlying issue.
That helps to resolve it effectively. We already talk about some potential causes of the clicking noise. Now explore some fixing tricks to reduce noise.
Resolving Defrost Timer Problems
Step 1: Unplug the refrigerator for safety
Safety always comes first! Before doing anything, unplug your refrigerator from the electrical outlet.
This ensures that you won’t accidentally get shocked while working on the appliance.
Step 2: Find the defrost timer’s location
Every refrigerator model is different, so you’ll need to locate the defrost timer in your specific refrigerator.
To do this, refer to the refrigerator’s manual, which usually contains a diagram or explanation of its parts.
In many cases, the defrost timer is located behind the refrigerator’s control panel or at the back near the compressor.
Step 3: Access the defrost timer

Once you know where the defrost timer is, you might need to remove some panels or covers to access it fully.
Don’t worry; this is usually not too complicated. Some refrigerators have snap-on panels, while others might require you to unscrew some screws.
Use a screwdriver if needed, and gently take off any necessary parts to expose the defrost timer.
Step 4: Inspect the defrost timer for visible damage
Now that you can see the defrost timer, give it a careful look. Look for any obvious signs of damage or malfunction.
Sometimes, you might notice burnt or discolored components, indicating a problem. Also, check for loose or frayed wires that could be contributing to the clicking noise.
Step 5: Consider testing the defrost timer (optional)
If you have a multimeter or can borrow one, you may want to do a quick test on the defrost timer to check its functionality.
A multimeter is a tool that measures electrical voltage, resistance, and continuity. By testing the defrost timer, you can determine if it’s working correctly or not.
However, this step is entirely optional, and if you’re not comfortable with it, you can skip to the next step.
Step 6: Purchase a compatible replacement defrost timer
If you’ve identified any issues with the defrost timer or confirmed its malfunction, it’s time to get a replacement.
Make sure to note down your refrigerator’s make and model, as you’ll need this information to buy the right defrost timer.
You can find compatible replacement parts online or at appliance repair stores.
Step 7: Install the new defrost timer
Before proceeding with the installation, double-check that the refrigerator is still unplugged.
Then, carefully follow the instructions that come with the new defrost timer. The installation process may vary depending on the model, but generally, you’ll need to connect the wires correctly and secure the timer in its designated place.
Step 8: Test the refrigerator after the installation

After successfully installing the new defrost timer, it’s time to test your refrigerator. Plug it back in and turn it on.
Observe the refrigerator’s operation for a while to see if the clicking noise is gone. Give it some time, as the defrost cycle may take a bit to kick in.
If the noise has disappeared, then congratulations, you’ve resolved the defrost timer problem!
Inspecting and Repairing Start Relay
To address exact issues with the start relay, follow these steps:
- Unplug the refrigerator: Disconnect the refrigerator from the power source to ensure your safety.
- Locate the start relay: Consult your refrigerator’s manual to find the location of the start relay. It is typically located near the compressor.
- Remove the start relay: Carefully detach the start relay from its socket. Take note of the wires connected to it and their respective positions.
- Inspect the start relay: Examine the start relay for any visible signs of damage. Such as burn marks or loose connections. If you notice any issues, it’s likely the cause of the clicking noise.
- Replace the start relay: If the start relay appears faulty, purchase a compatible replacement. Install the new start relay by reconnecting the wires.
Fixing Condenser and Evaporator Fan Motor Problems
To address potential issues with the condenser or evaporator fan motor, follow these steps:
- Unplug the refrigerator: Always prioritize your safety. So, disconnect the refrigerator from the power source.
- Locate the fan motors: Consult your refrigerator’s manual. That helps to find the condenser and evaporator fan motors. The condenser fan motor is usually located near the compressor. While the evaporator fan motor is found inside the freezer compartment.
- Inspect the fan motors: Carefully examine the fan motors. Look for any obstructions, damage, or signs of wear. If the fan blades are faulty or the motors show signs of malfunction, they may be the culprits.
- Clear obstructions: If the fan blades are obstructed, gently remove any debris. Or clean the ice buildup to restore proper airflow.
- Replace the fan motors: If the fan motors appear defective, replace them. Follow the manufacturer’s instructions to install the new motors. That ensures correct wiring connections.
Troubleshooting Water Valve Issues
- Some GE refrigerator comes with a water dispenser or ice maker. If you suspect the water valve is causing the clicking noise, follow these steps:
- Unplug the refrigerator: Disconnect the refrigerator from the power source.
- Locate the water valve: Consult your refrigerator’s manual to find the water valve. It is typically situated at the back of the refrigerator near the water supply line.
- Inspect the water valve: Examine the water valve for any visible damage. Look for loose connections or clogs. If you identify any issues, it’s likely the cause.
- Clean or replace: If the water valve is blocked, clean it thoroughly. If it is faulty, purchase a compatible valve. Install it according to the manufacturer’s instructions.
Test and Monitor the Refrigerator
It’s crucial to test the refrigerator and monitor its performance.
- Plug in the refrigerator: Connect the refrigerator back to the power source.
- Listen for clicking noises: Pay close attention to the refrigerator’s operation. Try to listen for any clicking noises. If the clicking noise persists, there may be an underlying issue. That requires professional assistance.
- Observe cooling performance: Monitor the refrigerator’s cooling performance. If you notice any irregularities, it may indicate a separate problem. That needs further attention.
If you encounter difficulties it’s always recommended to consult a professional technician. They will resolve the issue accurately and safely.
FAQs
Is the clicking noise affecting the refrigerator’s cooling performance?
However, if you notice any other signs of malfunction it’s advisable to seek professional assistance.
Should I be worried if the clicking noise persists for an extended period?
Can I repair the refrigerator myself if it’s making clicking noises?
Is there a way to reduce or eliminate the clicking noises?
Clean the condenser coil or evaporator fan. Hope it will reduce the noise.
Does the refrigerator’s warranty cover clicking noises?
Conclusion
Experiencing a GE refrigerator clicking but still cooling can be concerning. But it doesn’t necessarily indicate a major problem. Understanding the potential causes of these noises can help.
By following the recommended troubleshooting steps you can ensure effective cooling performance. It also helps to minimize any bothersome clicking sounds.
But it’s always best to consult a certified technician or the manufacturer for guidance. They can troubleshoot your GE refrigerator efficiently.