GE Refrigerator Self-Diagnostic Codes: Decode and Solve
We may earn affiliate fees for purchases using our links (at no additional cost to you).
Modern GE refrigerators come equipped with intelligent self-diagnostic systems that display error codes when problems arise.
These codes are your first line of defense when troubleshooting issues, helping you identify specific problems and take appropriate action.
Understanding these codes can save you time, money, and the frustration of a malfunctioning refrigerator.

How Self-Diagnostic Codes Work
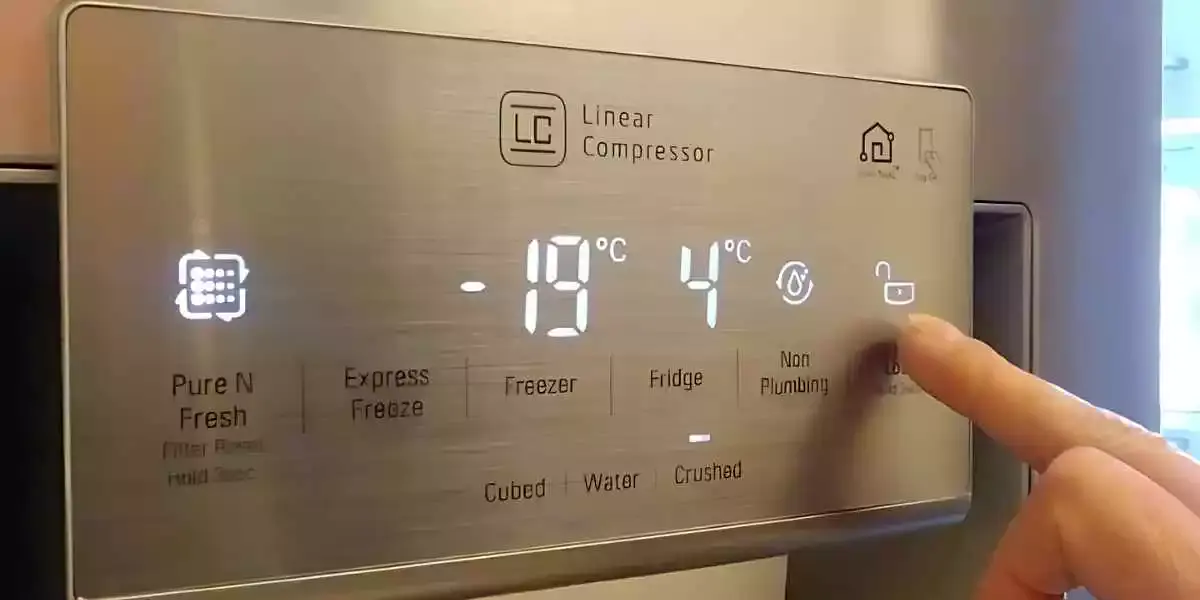
When your GE refrigerator detects an issue, it activates its self-diagnostic feature and displays an error code on the control panel. Each code corresponds to a specific problem within the refrigerator’s system. Here’s how the process works:
Error Detection: The system continuously monitors various components and functions.
Code Generation: When a problem is detected, the system generates and displays a specific error code.
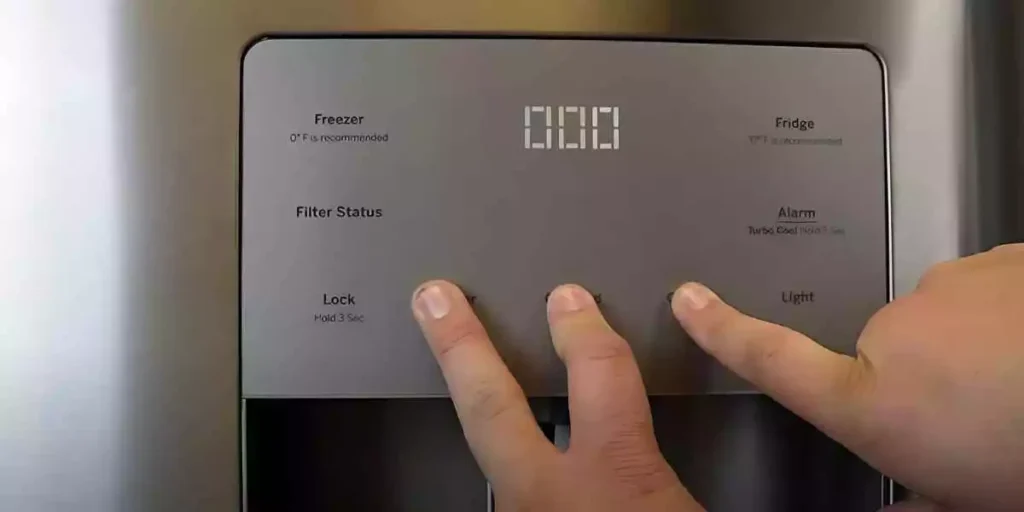
Diagnostic Mode: You can access additional diagnostic information by entering the refrigerator’s diagnostic mode (typically by pressing specific button combinations as outlined in your user manual).
Targeted Troubleshooting: With the error code identified, you can perform targeted troubleshooting rather than guessing at the problem.
Common GE Refrigerator Error Codes: Causes and Solutions
E1: Thermistor Problem
What it means: Issues with the temperature sensor that monitors internal temperature Potential impact: Inaccurate temperature regulation Common causes: Faulty sensor, wiring issues, or control board problems
How to solve: Check the thermistor connections for loose wires. Inspect for visible damage to the sensor.
Test the thermistor with a multimeter to verify resistance. Replace the thermistor if readings are outside manufacturer specifications.
To verify whether temperature readings are accurate, consider using a reliable digital refrigerator thermometer like the AcuRite Digital Wireless Thermometer.
This affordable tool can help confirm if your refrigerator is actually maintaining proper temperatures despite what the control panel displays.
If connections are good but problems persist, the control board may need replacement.
E2: Evaporator Fan Motor Issue

What it means: Problems with the fan that circulates cold air throughout the refrigerator
Potential impact: Inadequate cooling, temperature inconsistencies
Common causes: Obstructions, motor failure, or electrical issues
How to solve: Unplug the refrigerator before inspection. Remove any ice buildup blocking the fan blades.
Manually rotate the fan blade to check for obstructions. Listen for unusual noises when the fan operates, indicating bearing issues.
Check wiring connections to the fan motor. Replace the fan motor if it doesn’t run when powered or makes grinding noises.
E3: Defrost System Fault
What it means: Problems with the system that prevents ice buildup
Potential impact: Excessive frost, cooling issues, water leakage
Common causes: Defective defrost heater, thermostat, or timer
How to solve: Inspect the defrost heater for visible damage. Use a multimeter to test the defrost heater for continuity.
Check the defrost thermostat for proper operation. Verify the defrost timer is advancing correctly. Replace any faulty components identified during testing.
If frost buildup continues after component replacement, consider a control board issue.
E4: Damper Control Assembly Problem
What it means: Issues with the component that regulates airflow between compartments
Potential impact: Temperature imbalances between freezer and refrigerator sections
Common causes: Stuck damper, motor failure, or control issues
How to solve: Locate the damper control (usually between freezer and refrigerator sections).
Check for physical obstructions preventing proper movement. Verify the damper opens and closes properly when activated.
Test the damper motor for electrical continuity. Replace the damper assembly if the motor fails tests or damper movement is restricted.
E5: Temperature Sensor Fault

What it means: Problems with the sensors that monitor internal temperatures
Potential impact: Improper cooling, fluctuating temperatures
Common causes: Sensor failure, connection issues, or control board problems
How to solve: Locate the temperature sensors in both compartments. Check for secure wiring connections.
Test sensor resistance with a multimeter. Compare readings to manufacturer specifications.
Replace sensors that show incorrect resistance values. Reset the refrigerator by unplugging for one minute.
E6: Ice Maker System Issue
What it means: Problems with the ice production system
Potential impact: No ice production, incomplete ice cycles
Common causes: Water supply issues, motor failure, or sensor problems
How to solve: Verify water supply to the refrigerator is on and filter is not clogged.
Check for frozen water lines and thaw if necessary. Inspect the water inlet valve for proper operation.
Test the ice maker motor for continuity and function. Examine harvest sensors for correct position and operation.
Replace specific ice maker components based on test results. If all components check out, consider replacing the entire ice maker assembly.
E7: Door Switch Malfunction
What it means: Issues with the switch that detects door position
Potential impact: Interior light problems, cooling inefficiency
Common causes: Faulty switch, misalignment, or wiring problems
How to solve: Locate the door switch (usually in the door frame). Check for proper alignment with door closure.
Test the switch with a multimeter for continuity when pressed and released. Inspect wiring connections for damage or looseness.
Clean the switch contacts if they appear dirty. Replace the switch if it fails continuity tests.
E8: Control Board Fault
What it means: Problems with the main electronic control system
Potential impact: Multiple system failures, erratic operation
Common causes: Electronic failure, power surge damage, or software issues
How to solve: Reset the refrigerator by unplugging for at least one minute. Check for visible damage on the control board such as burn marks or swollen capacitors.
Verify proper voltage to the board. Look for loose connections or damaged wires.
If reset doesn’t resolve the issue, professional replacement of the control board is often necessary. Consider using a surge protector to prevent future damage.
Benefits of Understanding Diagnostic Codes
Knowing how to interpret these codes offers several advantages:
Preventive Maintenance: Address minor issues before they become major problems.
Quick Problem Identification: Immediately understand what’s wrong with your refrigerator.
Cost Savings: Avoid unnecessary service calls for issues you can fix yourself.
Informed Decisions: Determine whether a problem requires professional attention or DIY repair.
Efficient Communication: If you do need service, you can provide technicians with specific information.
Diagnostic Mode Activation

To access more detailed information about error codes:
- Locate your refrigerator’s control panel
- For most GE models:
- Press and hold the “Energy Saver” and “Light” buttons simultaneously for 3 seconds
- Some models require holding “Freezer” and “Refrigerator” temperature buttons
- Navigate through diagnostic screens using temperature adjustment buttons
- Record any codes displayed for reference
- Exit diagnostic mode by unplugging the unit or pressing the same button combination
Consult your specific model’s manual for exact button combinations, as they vary between models.
When to Call a Professional

While many issues can be resolved with DIY troubleshooting, some situations warrant professional attention.
Consider calling a technician if you experience persistent error codes that reappear after reset attempts.
Multiple simultaneous codes indicating potential system-wide issues are also best handled by professionals.
Electrical or sealed system problems typically require specialized tools and knowledge.
Control board issues often require expert diagnosis and replacement. Water or refrigerant leaks can damage your home or require specialized handling.
Preventive Maintenance Tips
To minimize the occurrence of error codes and prolong your refrigerator’s life, clean condenser coils to remove dust and debris every 6-12 months.
Check door seals to ensure they’re clean and creating a proper seal. Monitor temperatures using a thermometer to verify proper cooling (35-38°F for refrigerator, 0°F for freezer).
Clean vents to ensure air can circulate freely inside the compartments. Check water filters and replace them according to manufacturer recommendations.
Safety Precautions for DIY Repairs
Before attempting any repairs, always disconnect power by unplugging the refrigerator. Wear protective gear such as gloves when handling sharp components.
Document connections by taking photos before disconnecting wires or components. Prevent water damage by turning off the water supply before working on water-connected parts.
Avoid sealed system work and never attempt to repair refrigerant systems yourself.
Tools Needed for Diagnostic Repairs
Keep these tools on hand for common refrigerator repairs: a multimeter for electrical testing, screwdriver set (Phillips and flathead), nut drivers in common sizes, pliers and needle-nose pliers, flashlight for inspection, work gloves for protection, and a digital thermometer for temperature verification.
FAQs
1. Can I Troubleshoot And Fix Issues Using The Self-Diagnostic Codes?
2. What Should I Do If I Encounter A Self-Diagnostic Code On My GE Refrigerator?
3. Are Self-Diagnostic Codes The Only Way To Identify Problems With My GE Refrigerator?
4. Should I Attempt Repairs Myself Based On The Self-Diagnostic Codes?
Final Thoughts
GE refrigerator self-diagnostic codes provide invaluable insight into your appliance’s condition.
By understanding these codes and applying the appropriate troubleshooting steps, you can resolve many issues without calling for professional help.
For complex problems, these codes still offer useful information to share with service technicians.
Taking advantage of this built-in diagnostic system helps maintain your refrigerator’s performance, extend its lifespan, and minimize inconvenient breakdowns.
Keep this guide handy, along with your user manual, for quick reference when issues arise.
Remember that some repairs may void your warranty, so always check warranty terms before attempting major repairs yourself.
With proper knowledge and careful attention to safety, you can use GE’s self-diagnostic system to keep your refrigerator running smoothly for years to come.