How To Manually Fill Ice Maker With Water? Quick & Simple
We may earn affiliate fees for purchases using our links (at no additional cost to you).
Ever thought about how your ice maker creates those cool cubes? Come along with me as we navigate the icy mysteries of manually filling an ice maker with water.
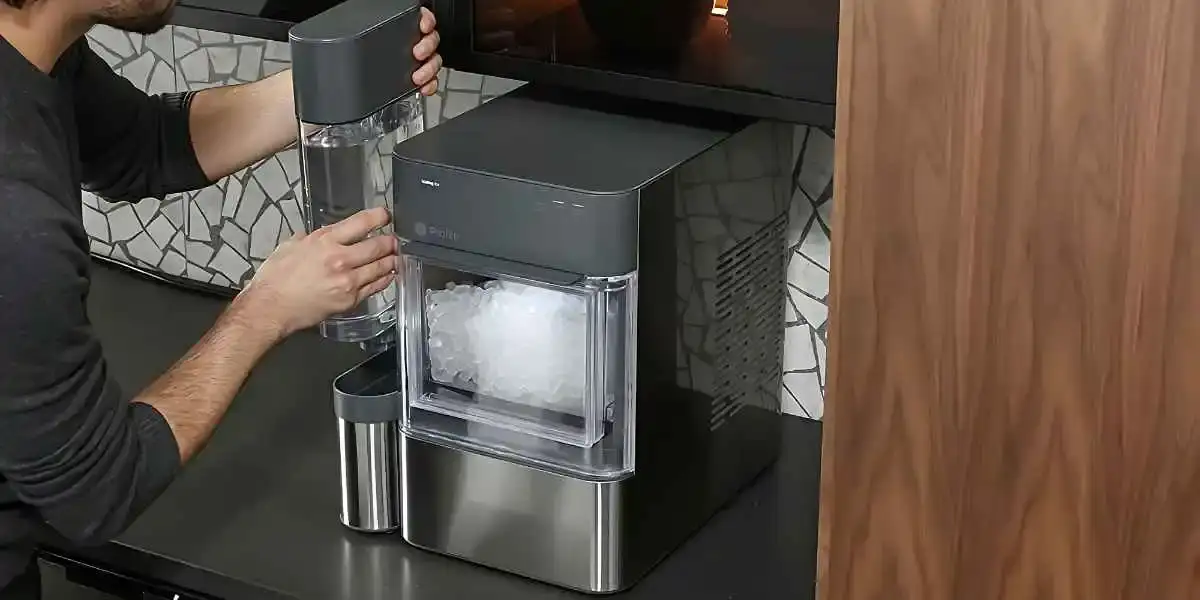
How To Manually Fill Ice Maker With Water?
Manually filling an ice maker involves carefully pouring 4 ounces of water into the mold and waiting for 2 hours.
If ice cubes drop out, your ice maker is working! Regular ice makers can produce about 4 pounds of ice daily using this amount of water.
Step-by-Step Guide: Filling an Ice Maker with Water
Step 1: Preparing the Ice Maker
First, make sure that your ice maker is turned off and unplugged from the power source.
This is essential for safety purposes and to prevent any mishaps during the filling process.
Locate the water reservoir of the ice maker, which is usually located at the back or inside the unit.
Step 2: Gathering the Necessary Supplies
You will need a few supplies to manually fill your ice maker with water. Prepare a clean and food-safe container that can hold the desired amount of water for your ice maker.
Additionally, have a measuring cup or a pitcher with volume markings to ensure accurate water measurement.
Lastly, have a clean towel or cloth nearby for any potential spills or drips.
Step 3: Checking the Water Level Indicator
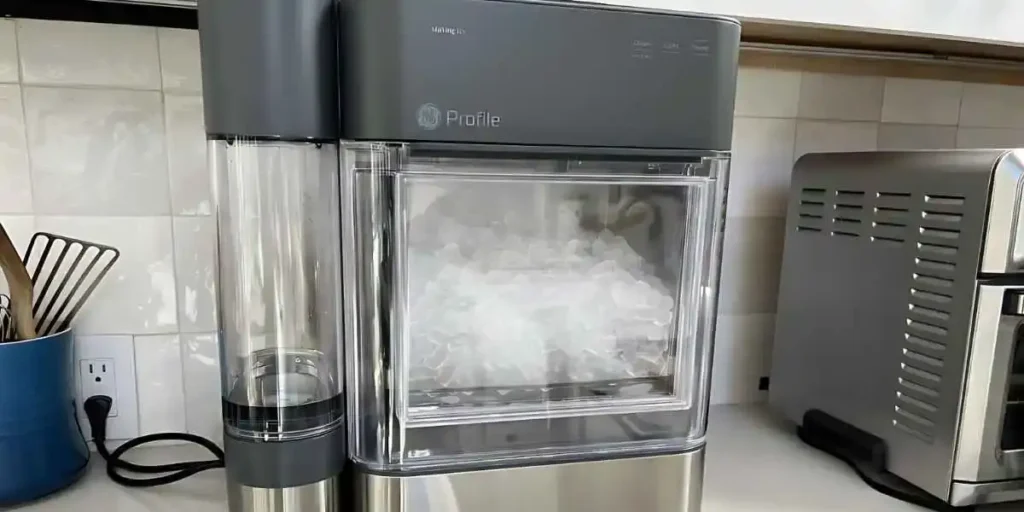
Inspect the water level indicator on your ice maker. This indicator is usually a small plastic or metal rod that extends into the water reservoir.
It helps you determine the appropriate water level required for optimal ice production.
Familiarize yourself with the indicator’s position and the recommended water level range.
Step 4: Pouring Water into the Reservoir
Carefully pour water into the ice maker’s reservoir using the clean container you prepared.
Slowly fill the reservoir, ensuring that you do not exceed the maximum water level indicated.
Take your time to avoid spills and overflow. As you pour the water, keep an eye on the water level indicator to ensure you reach the desired level.
Step 5: Adjusting the Water Level
If your ice maker has an adjustable water level feature, use it to set the water level according to your preference.
Some models may have buttons or switches to control the water level. Refer to the user manual of your ice maker for specific instructions on adjusting the water level.
Step 6: Wiping Any Spills or Drips
After filling the ice maker with water, carefully wipe away any spills or drips on the exterior of the unit using a clean towel or cloth.
Keeping the ice maker clean and dry will prevent water damage and maintain its efficiency.
Step 7: Plugging In and Turning On the Ice Maker
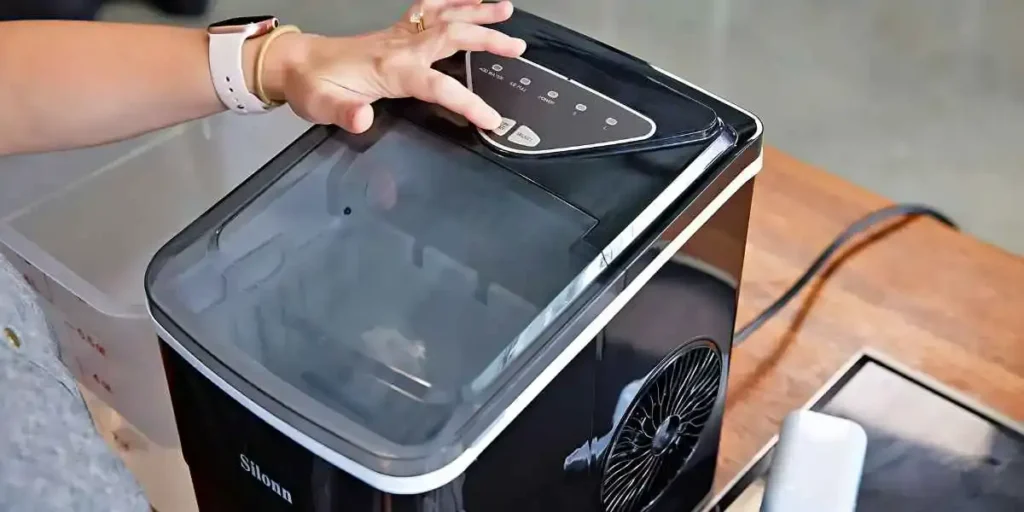
Once you have filled the reservoir and cleaned up any spills, plug in the ice maker and turn it on. This step will initiate the ice-making process.
Depending on the model, you may need to switch on the power button or adjust the ice-making settings. Refer to your ice maker’s user manual for specific instructions.
Step 8: Allowing the Ice Maker to Produce Ice
Now, give your ice maker some time to produce ice. The exact duration will vary depending on the model and settings.
Typically, it may take several hours or even a full day for the ice maker to generate a full batch of ice cubes.
Be patient and avoid opening the ice maker frequently during this process to maintain a consistent temperature and maximize ice production.
Step 9: Collecting the Ice
Open the ice storage bin or tray once your ice maker has completed its ice-making cycle.
Carefully scoop out the ice cubes or use the provided ice scoop to transfer them to a clean container or directly into your drink.
Avoid using your hands to handle the ice to maintain proper hygiene.
Step 10: Repeating the Filling Process as Needed
As your ice supply diminishes, you may need to repeat the filling process to ensure continuous ice production.
Follow the previous steps to fill the ice maker with water whenever necessary manually.
Benefits of Manual Water Filling for Ice Makers
Control: Take Charge of Your Ice Production
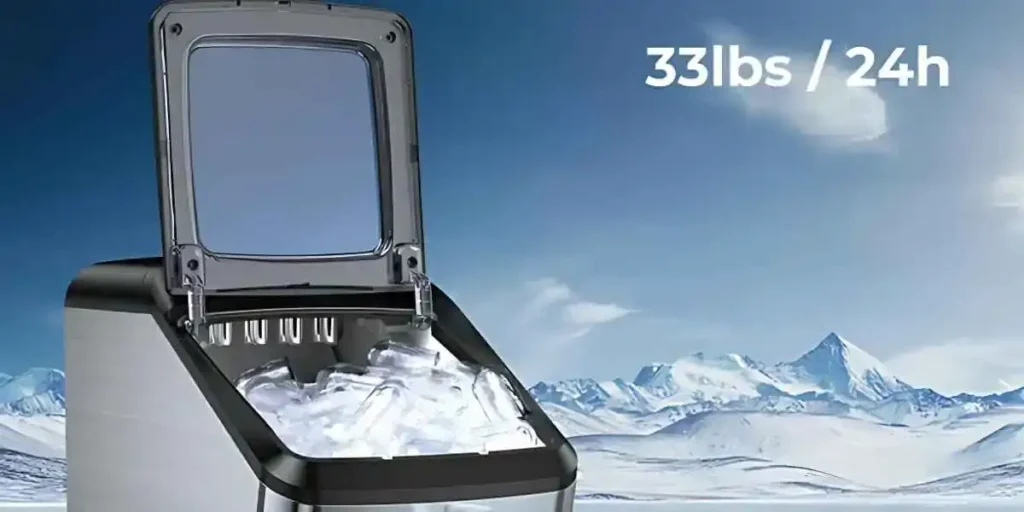
With manual water filling, you have complete control over the amount of water you pour into your ice maker.
This means you can adjust the water level to suit your specific needs and preferences.
You can optimize the size and density of your ice cubes by adjusting the amount of water used.
This way, you can tailor them to meet your desired outcome.
Portability: Ice On-the-Go
Imagine the freedom of having an ice maker that doesn’t rely on a direct water connection.
That’s where manual water filling comes in. You can enjoy the luxury of portability by manually adding water to your ice maker.
Whether you’re hosting a picnic, camping trip, or backyard barbecue, you can easily take your ice maker along, creating ice wherever and whenever you need it.
Customization: Unleash Your Creativity
When you manually fill your ice maker, you open up a world of customization possibilities.
You’re not limited to using plain water. You can add flavorings, juices, or even fruit pieces to the water before pouring it into the ice maker.
This allows you to create unique and refreshing ice cubes with a burst of flavor. Imagine the joy of serving guests vibrant lemonade-infused ice cubes on a scorching summer day!
Energy Efficiency: Conserve Power and Save Costs
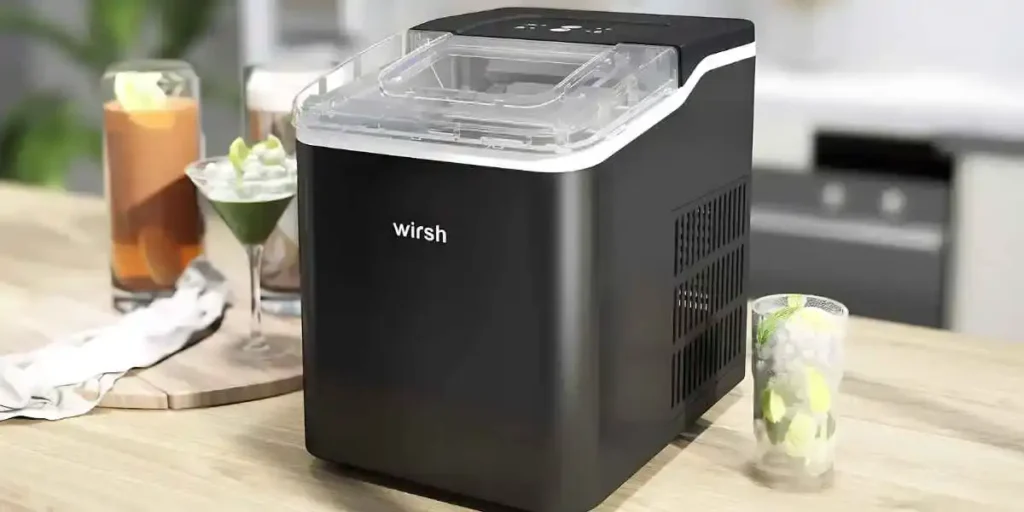
Opting for manual water filling can also contribute to energy efficiency. You don’t need a direct water connection for your ice maker.
This eliminates the need for constant power to maintain a continuous water supply. As a result, your ice maker draws less power.
By reducing energy consumption, you not only save on electricity costs but also contribute to a greener environment.
Versatility: Adapt to Any Situation
One of the most significant advantages of manual water filling is the versatility it offers.
You can use your ice maker in various settings without relying on specific plumbing requirements.
Whether you’re in an office space, a recreational vehicle, or a rented apartment, you can effortlessly set up and use your ice maker without any hassle.
The adaptability of manual water filling broadens your ice-making horizons.
5 Maintenance Tips for Ice Makers That Require Manual Water Filling
1. Regular Cleaning: Keep Your Ice Maker Spotless
Cleaning your ice maker on a regular basis is essential for maintaining its efficiency and preventing the buildup of residue or mold.
Start by unplugging the ice maker and removing any remaining ice cubes.
Then, carefully clean the interior surfaces, including the ice mold and water reservoir, using mild detergent and warm water.
Rinse thoroughly and dry with a clean cloth before reassembling the ice maker. Regular cleaning helps ensure the quality and taste of your ice cubes.
2. Descale the Ice Maker: Eliminate Mineral Deposits
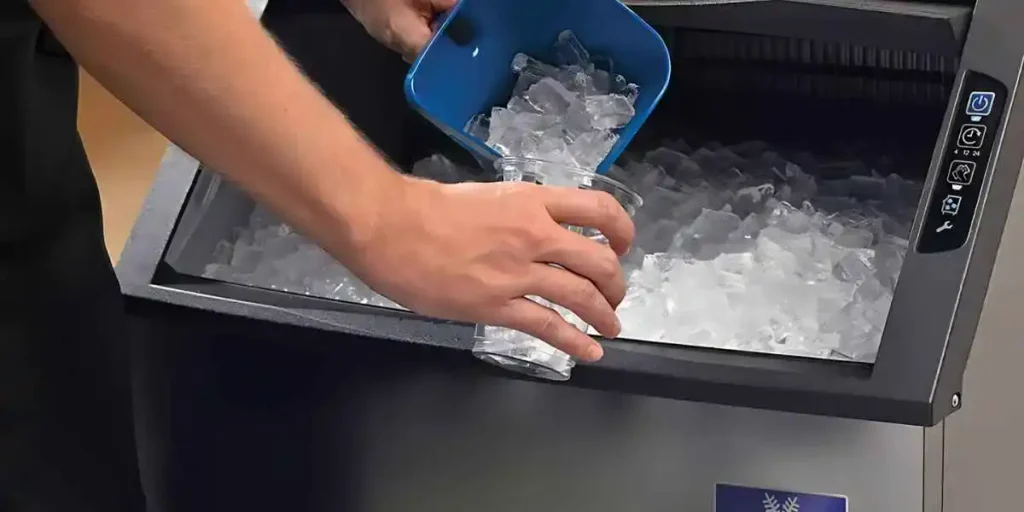
Over time, mineral deposits from the water can accumulate inside the ice maker, affecting its performance.
To remove these deposits, descaling is necessary. Prepare a solution of equal parts water and food-grade citric acid or vinegar.
Pour the solution into the water reservoir and let it sit for the recommended time, allowing the acid to dissolve the mineral buildup.
Then, run a complete ice-making cycle without adding any water or ice. Finally, flush the ice maker with clean water to remove any remaining residue.
3. Check the Water Filter: Ensure Clean and Fresh Water
If your ice maker is equipped with a water filter, it’s crucial to check and replace it as the manufacturer recommends regularly.
A clogged or expired filter can negatively impact the quality and taste of your ice cubes.
Follow the instructions to safely remove and replace the filter, ensuring you install the correct type and size.
A clean and functioning water filter helps maintain the purity of the water used for ice production.
4. Inspect the Water Supply Line: Ensure Proper Connection
For ice makers requiring manual water filling, inspecting the water supply line for any signs of damage or leaks is important.
Check the connection points between the ice maker and the water source to ensure a secure and watertight fit.
If you notice any issues, such as loose connections or leaks, tighten the fittings or replace any damaged parts.
Ensuring a proper water supply line connection is crucial for efficient and trouble-free ice production.
5. Air Ventilation: Allow Sufficient Airflow
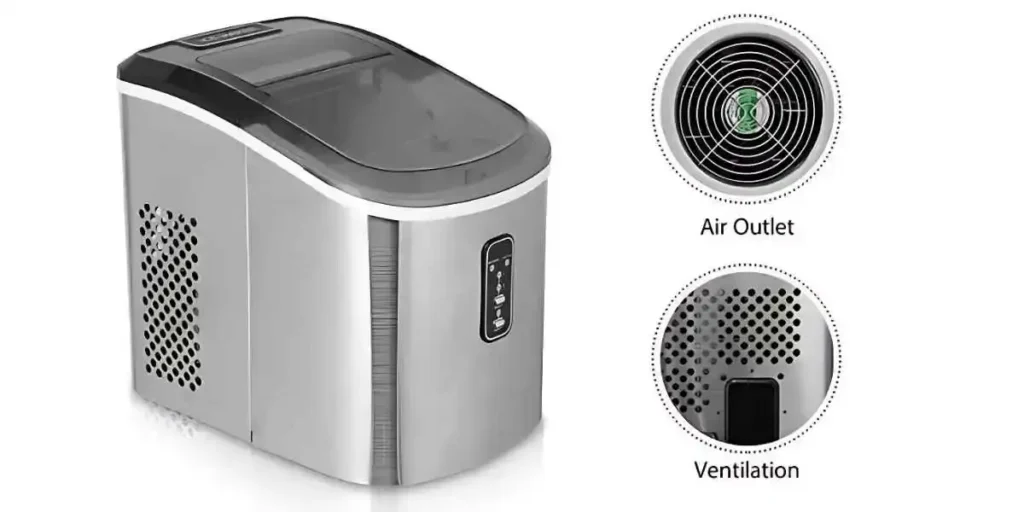
Proper airflow around the ice maker is essential for efficient operation and preventing overheating.
Ensure that the vents and openings of the ice maker are free from any obstructions such as dust, debris, or other objects.
Adequate ventilation helps dissipate heat and maintain optimal operating conditions for the ice maker.
Regularly wipe the exterior surfaces of the ice maker to remove any dust or dirt accumulation.
Frequently Asked Questions about Manual Water Filling for Ice Makers
Can I Use Any Type Of Water To Fill My Ice Maker?
Starting with good water quality ensures that your ice cubes will be free from any undesirable flavors or impurities.
How Much Water Should I Pour Into My Ice Maker?
It’s important not to overfill or underfill the water reservoir, as it can affect the ice cube formation and performance of the ice maker.
What Should I Do After Filling The Ice Maker With Water?
Once the ice cubes are fully frozen, follow the manufacturer’s instructions for removing them from the ice maker.
Before Filling The Ice Maker, Can I Add Flavorings Or Fruit To The Water?
However, make sure to avoid adding any ingredients that may clog or damage the ice maker. Use small quantities of flavorings or fruits to prevent excessive freezing or blockages.
Do I Need To Manually Monitor The Water Level While The Ice Maker Is Operating?
Simply ensure that you initially fill the ice maker with the recommended amount of water, and the machine will handle the rest.
How Often Should I Manually Fill The Ice Maker With Water?
Keep an eye on the water level indicator or check the ice maker regularly to determine when it needs to be refilled.
Conclusion
You can manually fill your ice maker with water with a few easy steps. Remember, pour in 4 ounces, wait for 2 hours, and voila – fresh ice!
This way, you can enjoy about 4 pounds of ice daily. It’s all about patience, precision, and a little bit of water!