Samsung Refrigerator Not Making Ice Bottom Freezer? Cool Solutions
We may earn affiliate fees for purchases using our links (at no additional cost to you).
Wondering why the bottom freezer isn’t making any ice?
Fear not, young explorers! Let’s unravel the chilly mystery behind it. We’ll dig into the frosty depths, uncovering the secrets of ice-making and how to fix it.
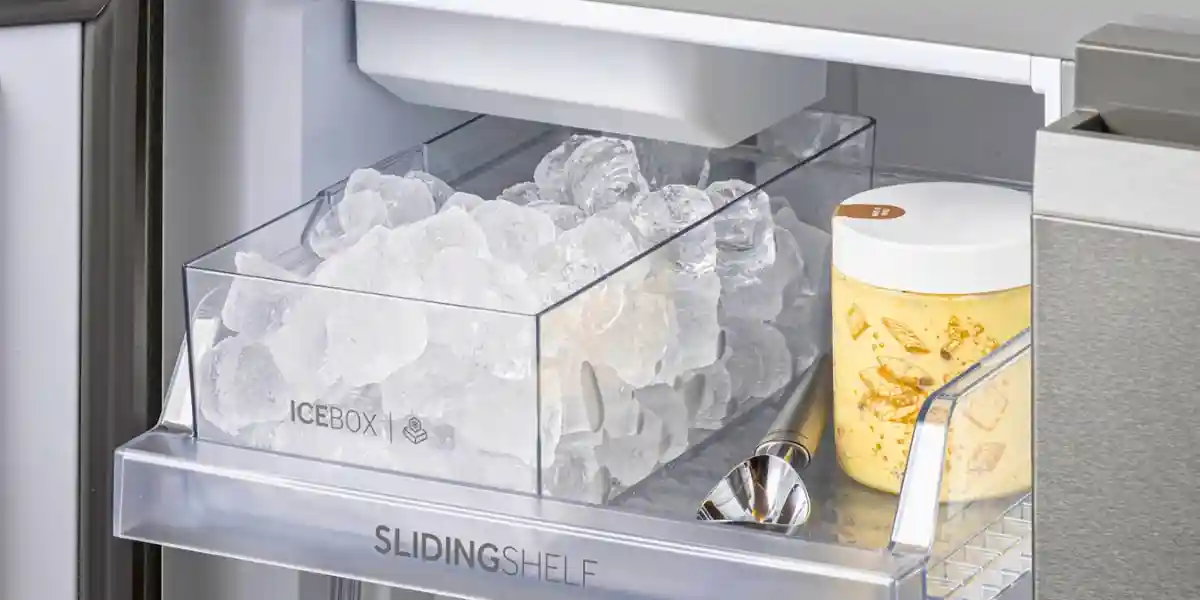
Samsung Refrigerator Not Making Ice Bottom Freezer
Is your Samsung refrigerator’s ice maker not producing ice in the bottom freezer? The issue may stem from low water pressure or a faulty water filter.
Cloudy, clumped, or small ice could indicate a dirty water filter, low water pressure, or mineral deposits in your water source.
Causes and Solutions for Samsung Refrigerator Not Making Ice in Bottom Freezer
Confirm If The Ice Maker Has Been Activated
To ensure that your Samsung refrigerator’s ice maker is functioning, you need to check if it is turned on. Here are the steps to follow:
Smart Screen Equipped Fridge Freezers
- Tap on “Fridge Manager” from the home screen.
- Select “Fridge Settings.”
- Locate the ice-making switch and toggle it to enable or disable ice-making.
For other fridge freezers:
- Press the lock button once to turn off the ice maker.
- Caution: Holding down this button will activate the control lock, locking the entire display and stopping ice production. To disable the control lock, press the lock button again.
Press the ice type button:
- Each press will cycle through different ice types.
- Look for an “Ice Maker” or “Ice Maker Off” button.
- Hold down this button for three seconds to switch ice production on or off.
Ensuring Full Closure of the Doors
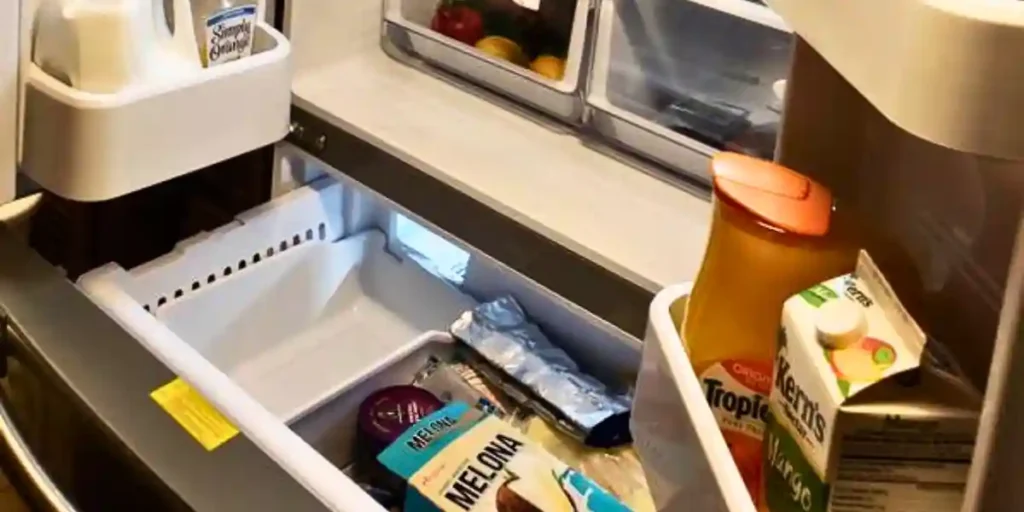
If your Samsung refrigerator’s ice maker is not making ice, it’s essential to check if the doors are closed properly.
Follow these steps to ensure the doors are closing correctly:
Check the back wall of the freezer:
- Ensure that nothing is resting against it, obstructing the door closure.
Inspect the door seal:
- Run your hand around the edge of the door to feel if any cold air is escaping.
- Place a sheet of paper into the door and try to pull it out.
- If the paper comes out without any resistance, the doors are not closing properly.
- If the door seal is faulty, it will need to be repaired or replaced.
Don’t Overfill the Fridge
Avoid overfilling your Samsung refrigerator and freezer as it can hinder proper airflow and make the appliance work harder to maintain the desired temperature.
Overfilling can cause slow ice production. Ensure there is enough space for proper air circulation.
Check that the Fridge is on Level
If your ice maker is not producing ice or if it is forming ice incorrectly, it’s important to check if your Samsung fridge is level.
Follow these steps to level your refrigerator:
Locate the leveling legs:
- Find the leveling legs underneath the refrigerator at the front.
- On Side by Side and Four Door models, open both doors for easier access to the leveling legs.
- If there is a front leg cover, remove it first to access the leveling legs more easily.
Adjust the leveling legs:
- The fridge/freezer has two legs for leveling and four caster wheels for mobility.
- Lower the legs so that the front wheels lift off the floor on level surfaces.
- Insert a flat-head screwdriver into a notch on the side of a leveling leg and rotate it to the left to raise that side.
- Repeat the process for the other side until the refrigerator is leveled.
Ensure the fridge is level from left to right and front to back:
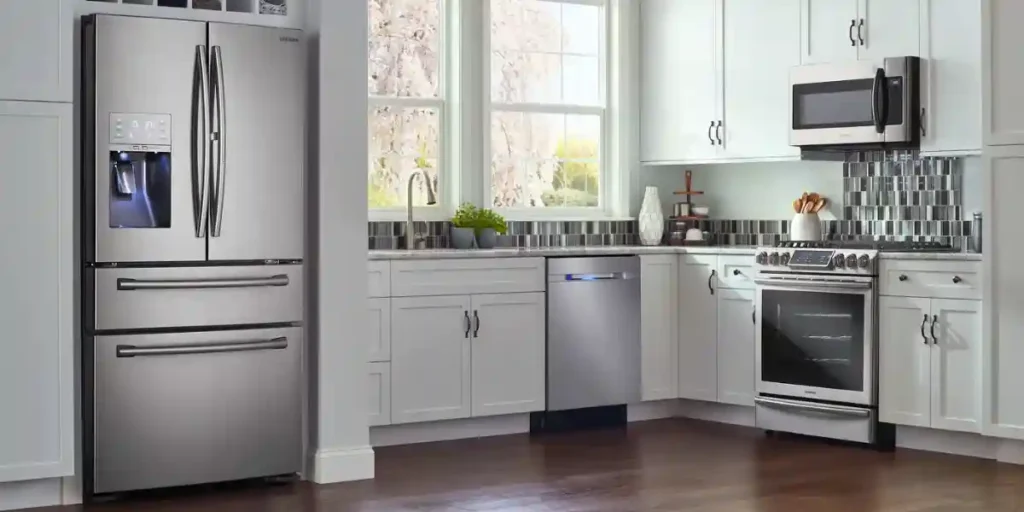
- Use a spirit level to check the level of the main unit, not the doors.
- If the refrigerator is not level, rotate the leveling leg on the higher side to the right.
- Continue making adjustments until the refrigerator is level.
Note:
To allow the doors to stay open, you can raise the legs slightly in front to slant the refrigerator backward. Remember to re-install the front leg cover if it was removed.
Check for Child Lock
Make sure the Child Lock feature is not activated, as it disables the ice dispenser. Look for a small lock icon that lights up when Child Lock is on.
Check the Water Supply
For Samsung refrigerators connected to the mains water supply, follow these steps to ensure proper water flow:
Verify the water connector:
- Ensure the arrow on the water connector is aligned with the water flow direction, pointing toward the fridge.
Locate and check the water valve:
- Find the water valve where the refrigerator water supply line connects to the house water line.
- Ensure the valve is turned on and fully open.
Inspect the water hose:
- Make sure the water hose is not blocked or damaged.
Check water pressure:
- Pour Water into Measuring Container for 10 Seconds.
- A minimum of 150 ml of water should be obtained.
- If the amount is less than 150 ml, your water pressure is too low.
- Possible causes include a kink in the supply line or a clogged water filter.
- Check the water filter as explained in the next section.
Note:
The water pressure along the entire water system can affect the ice maker’s performance.
If issues persist, test the water line directly by disconnecting it from the fridge and running water straight from the mains.
If the pressure directly from the mains is too low, consider using a booster pump to increase pressure.
Check the Water Filter
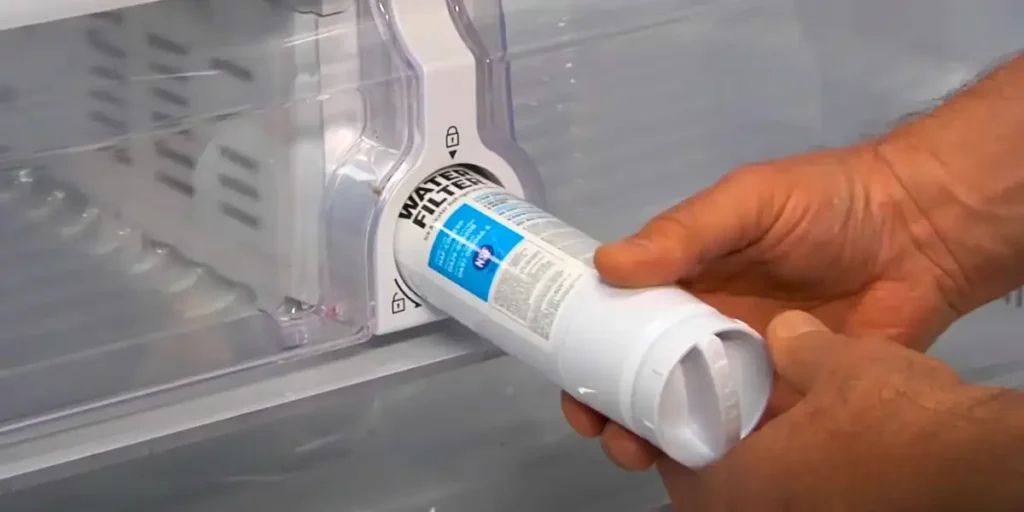
To ensure a clean and contaminant-free water supply, the water filter in your Samsung fridge/freezer needs regular maintenance.
Follow these steps to check and replace the water filter:
1. Turn off the water supply.
2. Remove the old water filter:
- Turn the filter counterclockwise while pulling it out or down.
- Refer to the user manual to locate the water filter on your specific model.
3. Install a new water filter:
- Push the new filter into place and turn it clockwise until the lock icon aligns with the filter housing.
4. Turn the water supply back on and dispense some water.
5. Reset the filter light to stay on top of the replacement schedule.
Note:
Replace the water filter every six months or as recommended. The filter icon on the display panel will indicate when it needs replacement.
Removing and Clearing the Ice Container
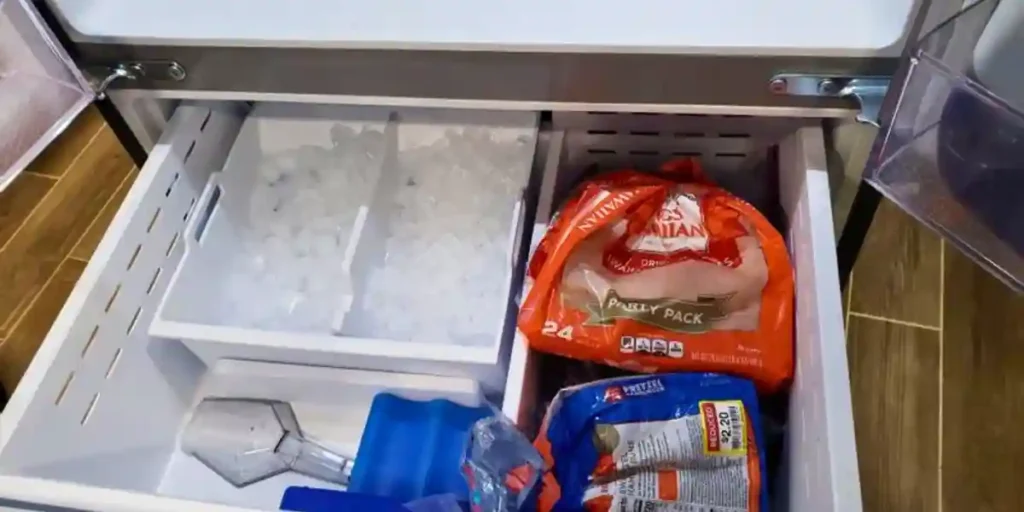
If your Samsung ice maker has not been used for an extended period or if the freezer temperature is set too low, ice cubes can accumulate and cause a blockage.
To clear this, follow these steps:
Remove the ice container:
- The method of removal may vary depending on your fridge/freezer model.
- Gently lift the bucket or use the handle on the side of the bucket to remove it.
- Alternatively, lift the lid or pull out the ice bucket from beneath the ice maker.
Clear the ice buildup:
- If the ice in the bucket is clumped together, tip it into the sink.
- Place the container back in the freezer to allow the ice maker to produce new ice.
- If you know you won’t use the ice maker for an extended period, turn it off.
Reset the Ice Dispenser
If your ice bucket is not dispensing ice, you may need to reset the ice dispenser. Here’s what you should do:
1. Remove the ice bucket to access the ice maker.
2. Locate the test button:
- It is a rectangular button usually found near the front, side, or bottom of the ice maker.
- Look for “TEST” writing or an arrow pointing to the button.
Hold down the Test button for a duration of 3 to 10 seconds:
- You should hear a chime, or the ice tray motor will start turning.
Wait for the test to complete:
- The test will take approximately 6 minutes.
- You may hear another chime at the end.
- It can take up to 24 hours for the ice maker to resume ice production after the reset.
Note:
Avoid pressing the button multiple times, as it can cause water to overflow or ice to jam, potentially damaging the ice maker.
Steps to Maintaining and Cleaning the Ice Maker
Step 1: Gathering the Necessary Supplies
Before you begin cleaning your Samsung refrigerator’s ice maker, gather the following supplies: a soft cloth or sponge, warm soapy water, a small brush or toothbrush, and a clean towel.
Make sure these items are readily accessible, as you’ll need them throughout the cleaning process.
Step 2: Turning off the Ice Maker
To prevent mishaps while cleaning, turning off the ice maker is crucial.
Locate the ice maker’s power switch or lever near the ice bin or inside the refrigerator’s freezer compartment.
Switch it off to ensure the ice maker stops producing ice during cleaning.
Step 3: Removing the Ice Bin
Next, remove the ice bin from the freezer compartment. Carefully pull it out, ensuring that no ice spills or falls onto the floor.
Set the ice bin aside in a safe place, away from direct sunlight or heat sources.
Step 4: Cleaning the Ice Bin
Now that the ice bin is removed, it’s time to clean it thoroughly. Rinse the ice bin with warm water to remove any loose ice or debris.
Use a soft cloth or sponge soaked in warm soapy water to wipe the interior of the ice bin, including the walls, bottom, and lid.
For stubborn stains or residue, gently scrub with a small brush or toothbrush. Once clean, rinse the ice bin thoroughly and dry it with a clean towel.
Step 5: Cleaning the Ice Maker Unit
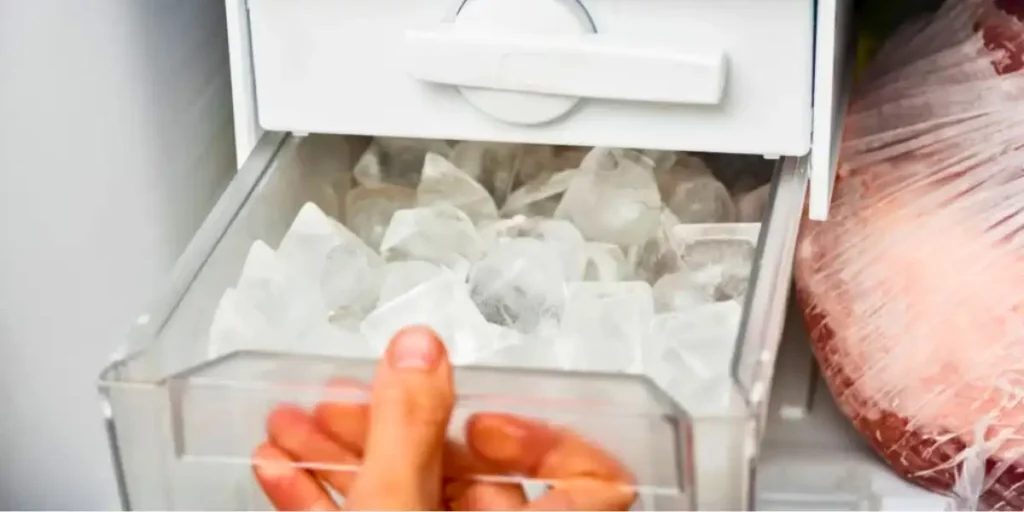
After cleaning the ice bin, shift your focus to the ice maker unit itself. Locate the ice maker, which is usually positioned near the top of the freezer compartment.
Using a soft cloth or sponge dampened with warm soapy water, carefully wipe the exterior surfaces of the ice maker, including the control panel and any visible sensors.
Do not use excessive water that could seep into the ice maker’s electrical components.
Step 6: Cleaning the Ice Maker’s Components
To ensure optimal ice production and quality, cleaning the ice maker’s components thoroughly is crucial. Check the ice maker model.
Some models may have removable parts, such as the ice mold or water dispenser, which should be cleaned according to the provided instructions.
For non-removable parts, use a soft cloth or brush to wipe away any visible dirt or debris.
Step 7: Reassembling and Restart the Ice Maker
Once you have cleaned all the necessary parts, carefully reassemble the ice maker components, ensuring they fit snugly and securely.
Return the ice bin to its original position inside the freezer compartment. Finally, switch the ice maker’s power back on by flipping the power switch or lever to the “on” position.
Step 8: Regular Maintenance and Cleaning Schedule
To maintain a well-functioning ice maker, it’s essential to establish a regular maintenance and cleaning schedule.
Aim to clean the ice maker and ice bin every three to six months, depending on your usage.
By adhering to this schedule, you can prolong the life of your Samsung refrigerator’s ice maker and enjoy ice cubes that are both clean and refreshing.
FAQs
How Can I Defrost The Water Line In My Samsung Refrigerator?
Be careful not to apply excessive heat or use sharp objects to avoid damaging the line.
What Should I Do If The Water Line Is Not Frozen, But My Samsung Refrigerator Still Doesn’t Make Ice?
If these are not the cause, it’s best to contact Samsung customer support for further assistance.
Why Is The Ice Maker In My Samsung Refrigerator Making Small Or Hollow Ice Cubes?
If the issue persists, contacting Samsung customer support is recommended.
My Samsung Refrigerator’s Ice Maker Is Producing An Odd Odor. What Should I Do?
Rinse it well and allow it to dry completely before reinstalling it. If the odor persists, contacting Samsung customer support is advisable.
The Ice Dispenser In My Samsung Refrigerator Is Not Working. What Can I Do?
If the problem continues, verify if the freezer temperature is set correctly. If none of these solve the issue, contact Samsung customer support.
How Frequently Should I Change The Water Filter In My Samsung Fridge?
Check the user manual or contact Samsung customer support for specific guidance.
Conclusion
If your Samsung refrigerator’s ice maker in the bottom freezer is not producing ice, there are several potential causes and solutions to consider.
Low water pressure, a faulty water filter, or improper door closure can affect ice production.
Overfilling the fridge or an unlevel refrigerator can also impact ice-making. Checking the ice maker settings and water supply and performing regular maintenance,
including cleaning the ice maker and replacing the water filter, can help resolve the issue.