How To Remove Ice Maker From Samsung Side By Side Refrigerator? Quick Guide
We may earn affiliate fees for purchases using our links (at no additional cost to you).
How to remove ice maker from Samsung side by side refrigerator?
Look no further! In this post, we’ll talk step-by-step process to successfully remove the ice maker. So no more frustration for a malfunctioning ice maker.
Let’s get right to the point. Ready to master this essential skill? Let’s dive in!
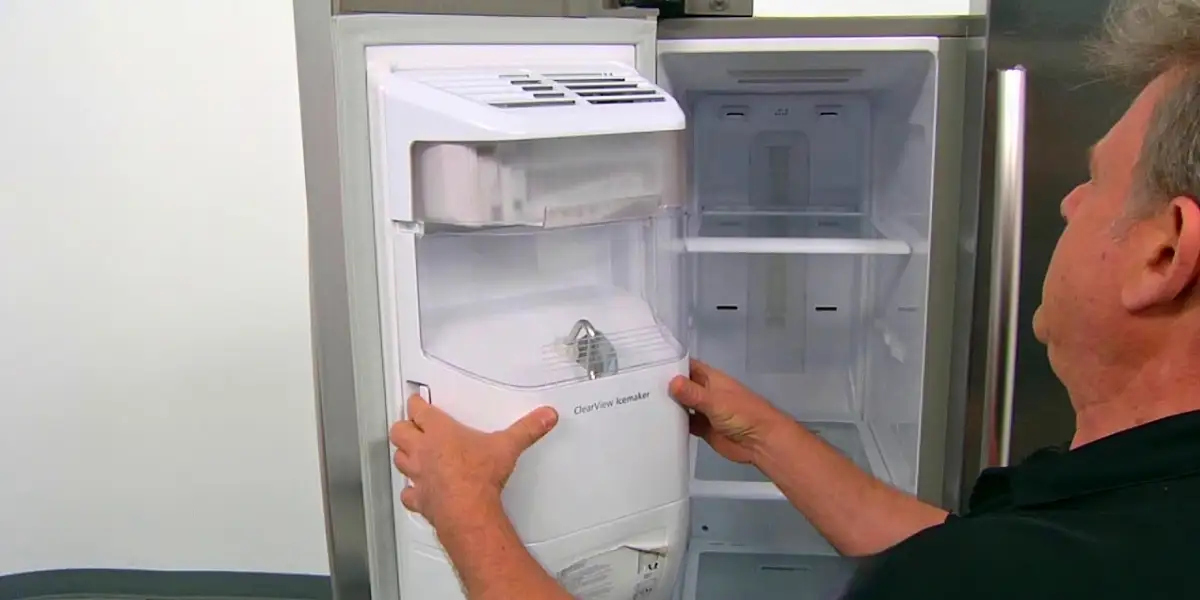
How to Remove Ice Maker from Samsung Side by Side
Removing the ice maker from your Samsung side-by-side refrigerator seems daunting. But it’s a straightforward process. Just follow the below steps.
Unplug the Refrigerator
Safety first! So, before you start, unplug the refrigerator from the power source. It helps to avoid any electrical accidents while working on the ice maker.
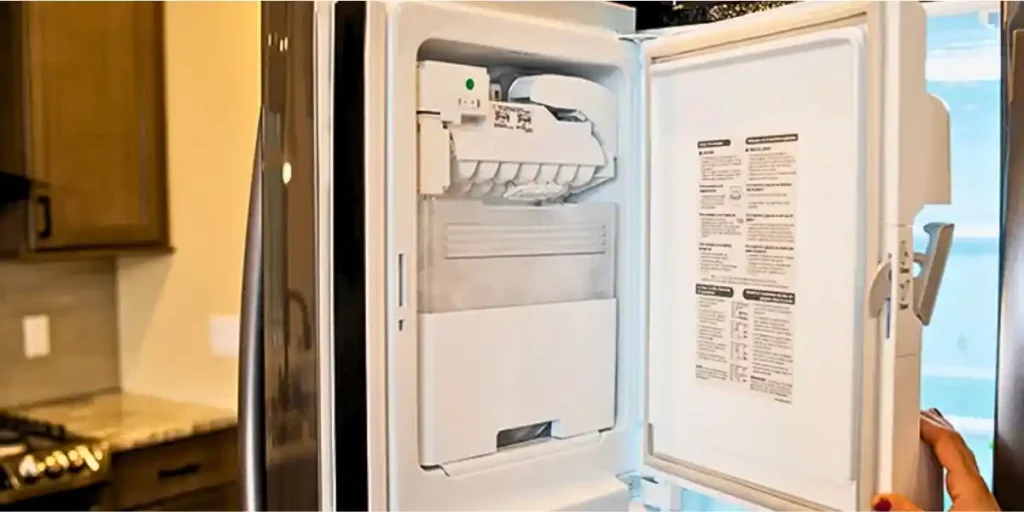
Locate the Ice Maker
The ice maker is usually located in the upper left corner of the freezer. Open the freezer door to access it.
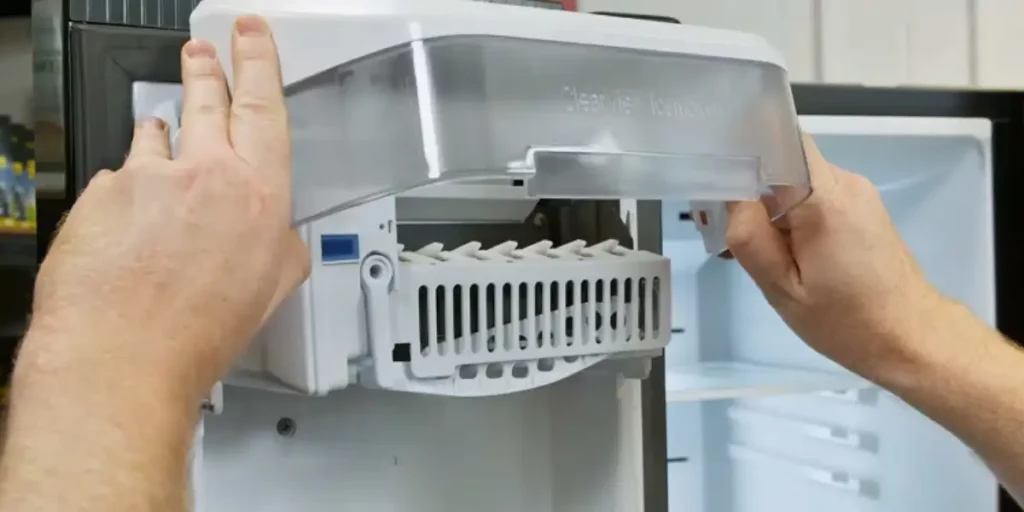
Remove the Ice Bin
Transfer ice to a cooler or another container to make the ice bin empty. Then, lift the ice bin upward. Pull it out from the ice maker.
Remove the Ice Maker Tray
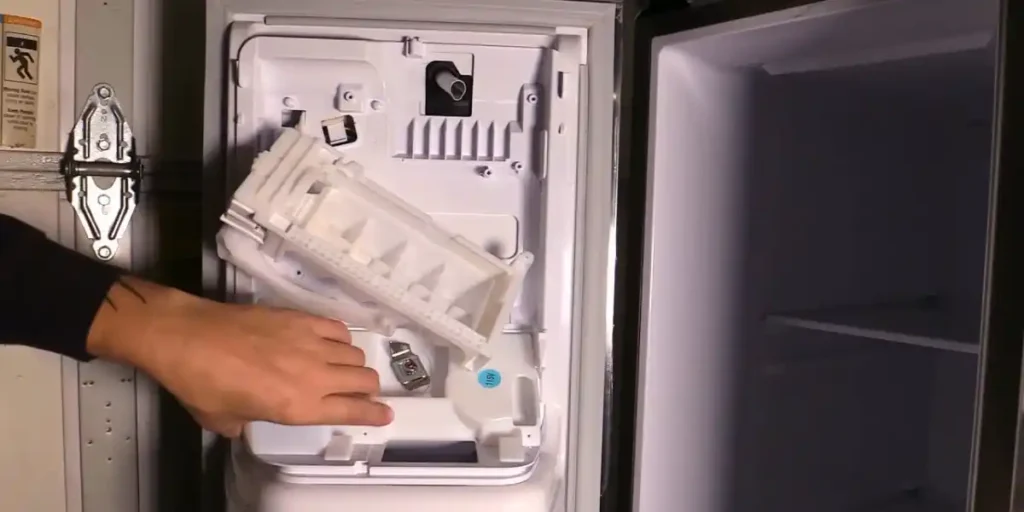
After removing the ice maker now you can see the ice maker tray. Gently lift it and slide it out of the ice maker.
Disconnect the Water Line
Locate the water line attached to the back of the ice maker. Depress the tab securing the water line. Now carefully disconnect it from the ice maker.
Unscrew the Ice Maker
Now, look for the mounting screws. That is securing the ice maker to the freezer wall. Use a screwdriver to remove these screws. It will release the ice maker from its position.
Disconnect the Electrical Connector
The ice maker is still connected to the refrigerator through an electrical connector.
Detach this connector carefully. Make sure you are not damaging any wires in the process.
Remove the Ice Maker
Now you detached all connections. It’s time to remove the ice maker from your Samsung refrigerator.
Tips for Removing the Ice Maker Safely
Removing the ice maker is generally a straightforward process. But keep these tips in mind for a smooth experience.
Check the Manual
Always check the refrigerator’s user manual for specific guidance on removing the ice maker.
Different models may have slight variations in the process. So it is best to follow the user guidance.
Use the Right Tools
Have a screwdriver that fits the mounting screws securely. It helps to avoid any accidental damage during the removal process.
Be Gentle with the Water Line
When disconnecting the water line, handle it gently. It will prevent any leaks or damage.
Label Wires for Reassembly
If you need to disconnect electrical connectors, consider labeling the wires. You can take a picture before removing them. It will make reassembly easier later on.
When and Why to Remove the Ice Maker
You may be wondering if removing the ice maker from Samsung’s side-by-side refrigerator is necessary.
Let’s delve into some factors. That determines whether you should take on this task and the reasons behind it.
Identifying the Issue
If you’re experiencing problems with your ice maker. Such as irregular ice production or unusual noises, it’s time to consider ice maker removal.
Cleaning and Maintenance
Routine cleaning and maintenance can be a reason for removal. Regular maintenance ensures the efficient functionality of the ice maker. It also prevents potential issues.
Upgrading to a New Ice Maker
If you’re planning to upgrade to the latest ice maker model, removing the old one is essential. It ensures a seamless replacement.
Repairing Malfunctioning Parts
Removing the ice maker allows you to access and repair specific parts. Such as the water valve or motor, if they are not functioning properly.
Addressing Leaks and Clogs
Leaking or clogging issues in the ice maker can be resolved by removing it. It helps to identify the root cause and fix the problem.
Moving or Transporting the Refrigerator
If you need to move or transport the refrigerator, removing the ice maker is recommended. It prevents damage during the process.
Flexibility in Appliance Configuration
Removing the ice maker provides flexibility in configuring your refrigerator. That allows you to utilize the space for other purposes.
Avoiding Unnecessary Repairs
Knowing how to remove the ice maker enables you to troubleshoot and address issues. It potentially saves money on repairs.
Customization and Personalization
By removing the ice maker, you can explore options for customizing or personalizing. It allows you to customize your refrigerator’s interior layout.
DIY Enthusiast and Hands-On Approach
For DIY enthusiasts or those who enjoy a hands-on approach, removing the ice maker presents a fulfilling challenge.
Determining whether to remove the ice maker depends on your specific needs. If you’re experiencing issues, or planning an upgrade removal is the right decision.
However, if the ice maker is functioning well and you don’t require any modifications, leaving it intact is perfectly fine.
Always consider your requirements to make the right choice. Knowing how to remove the ice maker grants you greater flexibility and control over the refrigerator’s performance.
Unlocking A Stuck Samsung Side by Side Refrigerator Ice Bucket
Is your Samsung side-by-side refrigerator’s ice bucket stuck? Don’t worry.
Follow the below step to effectively remove that stubborn ice bucket without any hassle.
Assess the Situation
Start by examining the ice bucket to understand why it’s stuck. Check for any visible obstructions or ice buildup. That may cause the issue.
Empty the Ice Bucket
Before attempting to remove the stuck ice bucket, make it empty. It reduces weight and prevents spills.
Apply Gentle Pressure
Firmly grip the sides of the ice bucket with both hands. Apply gentle, even pressure, and try to wiggle it back and forth. That loosens any potential grip points.
Use a Hair Dryer
If the ice bucket is stuck due to ice buildup, try using a hair dryer. Keep it on low heat to melt the ice around the edges. Be patient and avoid applying excessive heat.
Lubricate the Edges
If the ice bucket is still stuck, apply a small amount of cooking oil or lubricant along the edges. It will reduce friction and make it easier to remove.
Leverage a Rubber Mallet
For a more stubborn ice bucket, use a rubber mallet or a soft hammer. It will gently tap the sides. This can help dislodge the ice bucket without causing damage.
Check for Levers or Releases
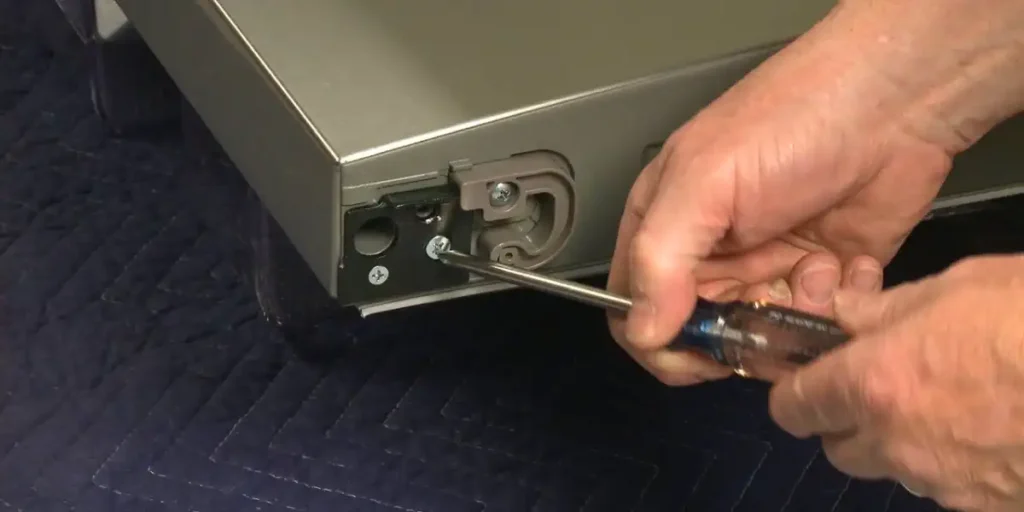
Some Samsung refrigerators have hidden levers. Releases the lever that secures the ice bucket.
Check your refrigerator’s user manual for specific instructions on finding and releasing them.
Apply Warm Water
If none of the above methods work, try pouring warm water around the edges of the ice bucket. The warmth can help loosen any ice or frost. That may be causing the sticking.
Seek Professional Help
If all efforts fail, it’s best to seek professional assistance. A certified technician can safely remove the ice bucket.
Prevent Future Sticking
To prevent future sticking, clean the ice bucket regularly. Ensure that it’s completely dry before placing it back in the freezer.
Removing a stuck Samsung refrigerator ice bucket seem like a daunting task. But with the right approach, you can triumph over stubbornness.
Follow these step-by-step instructions to remove the ice bucket without any stress. Enjoy hassle-free ice retrieval and a smoothly functioning refrigerator!
FAQs
Can I Remove the Ice Maker Without Unplugging the Refrigerator?
Can I Reuse the Same Ice Maker?
How Often Should I Remove and Clean the Ice Maker?
Are There Any Additional Parts I Need for the Removal?
Can I Remove the Ice Maker for Repair?
Conclusion
Congratulations! Hopefully, now you know how to remove ice maker from Samsung side by side refrigerators.
With our guide, you can confidently tackle any ice maker issues or upgrades. Say goodbye to frustrating experiences, and hello to a smoothly functioning ice maker!
Now, go ahead and put your newfound skills to use. It ensures your fridge stays in top-notch condition.
Remember to follow the steps carefully. Always prioritize your safety by unplugging the refrigerator before starting. Happy repairing!