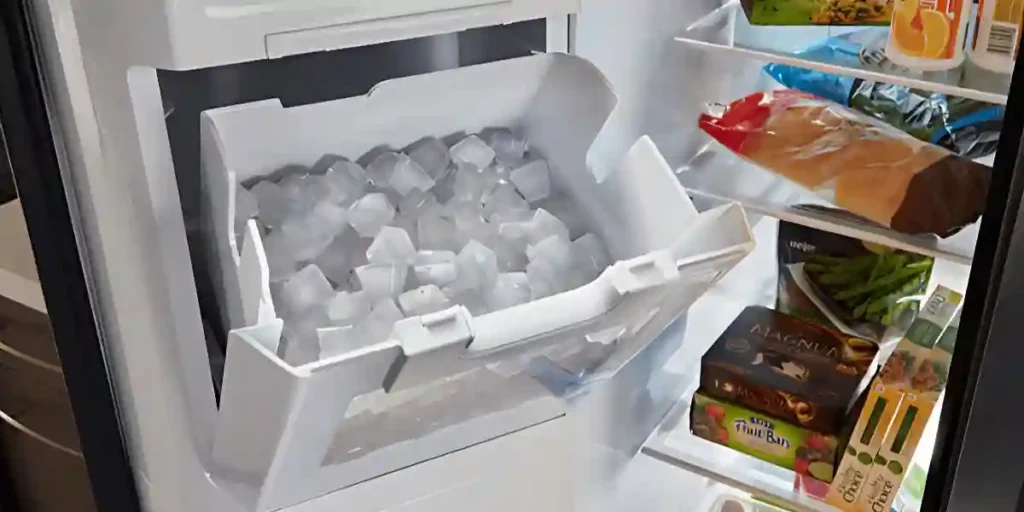
Ever wondered how to remove an ice maker from your KitchenAid French door refrigerator?
Let’s unlock the secrets together! I’ll show you step-by-step how to remove the ice maker and troubleshoot any problems safely.
We’ll dive into the cool world of refrigerator mechanics.
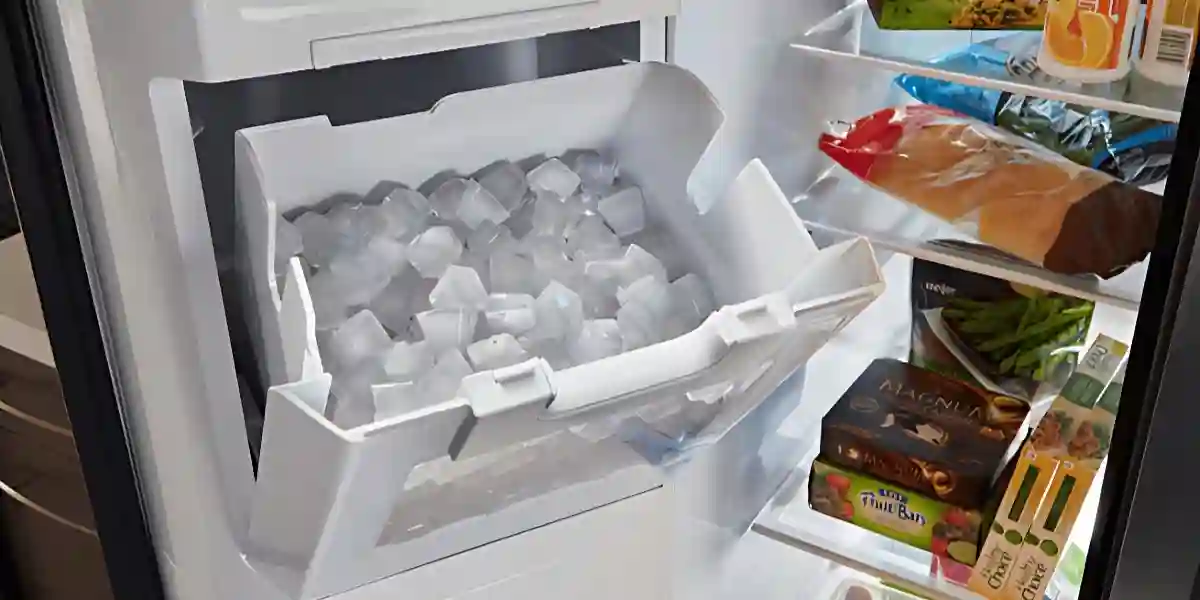
How To Remove Ice Maker From Kitchenaid French Door Refrigerator?
To remove an ice maker from a Kitchenaid French door refrigerator, first, switch off the power.
Empty the ice bucket and locate the mounting screws to detach the ice maker. Disconnect the ground wires and harness, then remove the ice maker.
Always remember safety first!
Step-by-Step Guide: Removing the Ice Maker Safely
Unplug Electrical Power
To begin, disconnect the refrigerator from the electrical outlet or switch off the circuit breaker dedicated to the fridge.
It’s important to ensure the power is completely cut off before proceeding.
If you have any highly perishable items in the refrigerator, transfer them to a cooler or cooled area to keep them fresh.
The refrigerator will be without power for approximately 30 minutes, which shouldn’t significantly impact most stored or frozen goods.
Take Out Ice Bucket
Open the compartment door where the ice maker is located. Locate the handle below the ice bin and grip it firmly.
Pull the handle upward to remove the ice bucket from the ice compartment storage. Be careful not to spill any ice or water during this step.
Remove Ice Maker Assembly
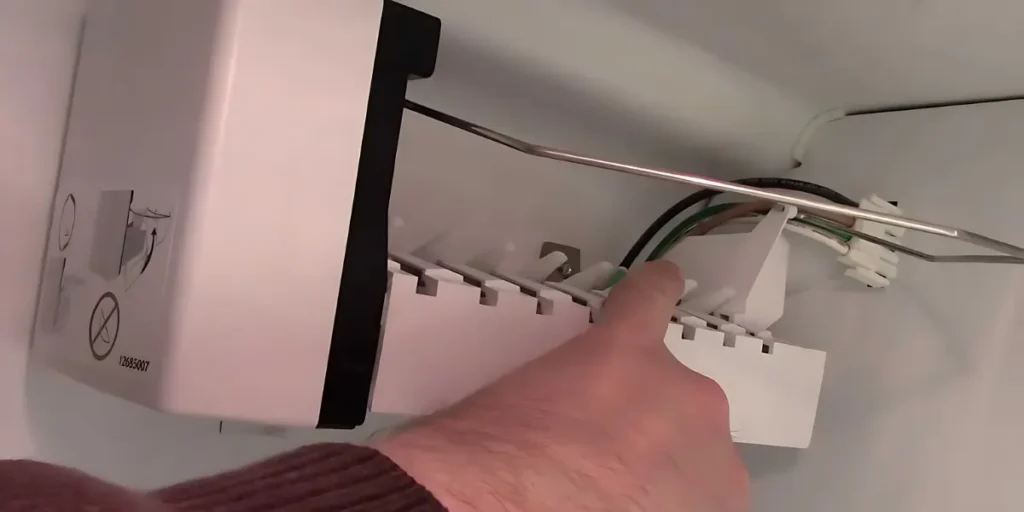
While holding the ice maker assembly securely, use a good screwdriver to remove the two mounting screws attached to the compartment. Set the screws aside for now.
Next, remove the two mounting screws that connect the ice maker module to its door. Keep these screws separate as well.
Take Out Ice Maker Assembly
Gently push the ice maker assembly and carefully turn it upside down. This will allow you to access the ground wires and harness connections.
Locate the wire harness connector and press the locking tab. Once the tab is released, disconnect the wire harness from the connection.
Remove the screw that connects the green ground wire to the ice maker assembly. Keep this screw separate for now.
Finally, pull the ice maker assembly out and set it aside to be discarded later.
Screw the Ground Wires
Now, it’s time to install the new ice maker assembly. Position the new assembly in the compartment and securely screw the green ground wire to the new assembly.
Make sure the screw is tightened properly to ensure a secure connection.
Connect Wire Harness
Attach the wire harness to the plug on the new ice maker assembly. Press it firmly until the locking tab clicks, indicating a secure connection.
Install New Ice Maker
Carefully turn the ice maker assembly right side up and place it back into the compartment, aligning the mounting holes properly.
Once in position, tighten the mounting screws firmly to secure the assembly in place.
Reinstall the Ice Bucket
Tilt the top of the ice bin slightly forward and align it with the compartment opening. Gently slide the ice bucket back into place.
Close the compartment and freezer door securely.
Connect Electrical Power
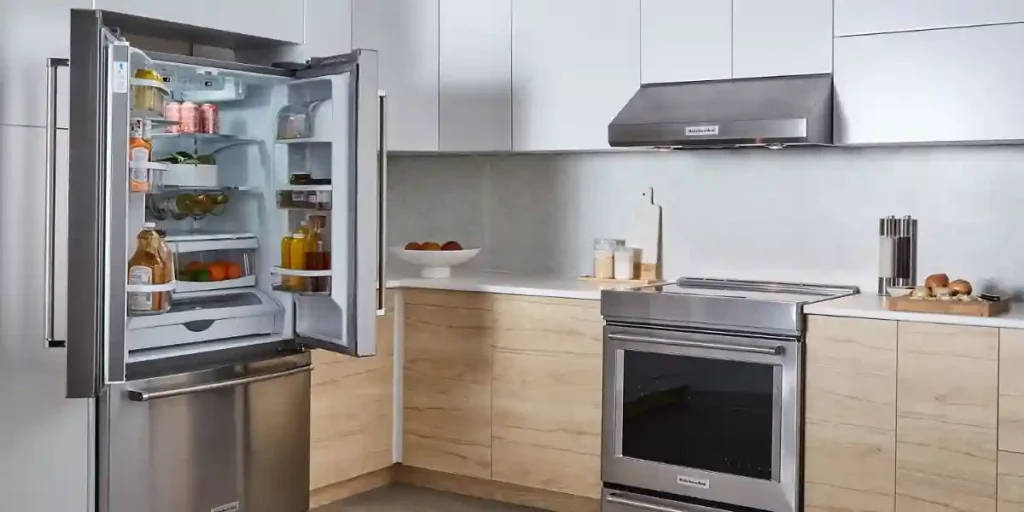
Finally, plug the refrigerator back into the electrical outlet or switch on the circuit breaker to restore the electrical connection.
Ensure that the refrigerator is receiving power before using the ice maker again.
Congratulations, you have successfully removed and replaced the ice maker in your KitchenAid French Door Refrigerator!
Risks and Precautions When Removing the Ice Maker
Electrical shock:
The ice maker is connected to the electrical system of the refrigerator, so there is a risk of electrical shock.
To prevent this, make sure to unplug the refrigerator before you start removing the ice maker. This will eliminate the risk of coming into contact with live wires.
Water damage:
The ice maker is also connected to the water supply, so there is a possibility of causing water leaks and damaging the refrigerator.
To avoid water damage, avoid damaging the water line or the electrical connections while removing the ice maker.
Damage to the ice maker:
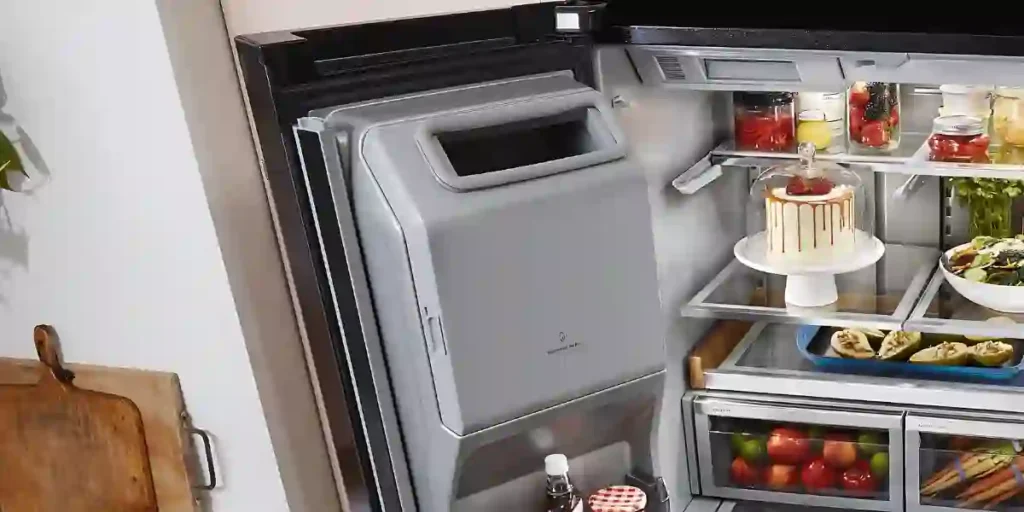
An ice maker is a delicate appliance; mishandling it during removal can cause damage. Take caution to handle the ice maker gently and avoid dropping it.
To minimize these risks, it’s essential to take the following precautions:
- Unplug the refrigerator before starting the removal process to prevent electrical shocks.
- Handle the water line and electrical connections with care to avoid damaging them.
- Place a towel nearby to protect the refrigerator in case of water leaks. If any water does leak, the towel will absorb it and prevent damage to the refrigerator.
Additionally, here are some extra tips for safe ice maker removal:
- Be prepared with a towel in case the water line leaks. It’s always better to be cautious and have a backup plan.
- Ensure you carefully handle the ice maker to prevent any accidental drops or damage.
- If you plan to replace the ice maker, purchase a compatible one specifically designed for your KitchenAid French Door refrigerator.
Benefits of Removing the Ice Maker From KitchenAid French Door Refrigerator Safely
More storage space:
Removing the ice maker creates additional room in the freezer compartment. This extra space allows you to easily store larger food items, such as frozen pizzas or containers.
It also gives you the flexibility to organize the freezer according to your specific needs and preferences.
Easier cleaning:
Without the ice maker, cleaning the freezer becomes simpler. You no longer need to navigate the ice maker components, making accessing and cleaning all freezer areas easier.
This helps maintain better hygiene and ensures your food stays fresh and uncontaminated.
Flexibility in ice production:
When the ice maker is removed, you have the freedom to choose alternative methods for producing ice.
You can use ice cube trays to make ice or purchase bagged ice from the store.
This flexibility allows you to adjust your ice-making approach based on your needs, whether it’s for a large gathering or everyday use.
Reduced energy consumption:
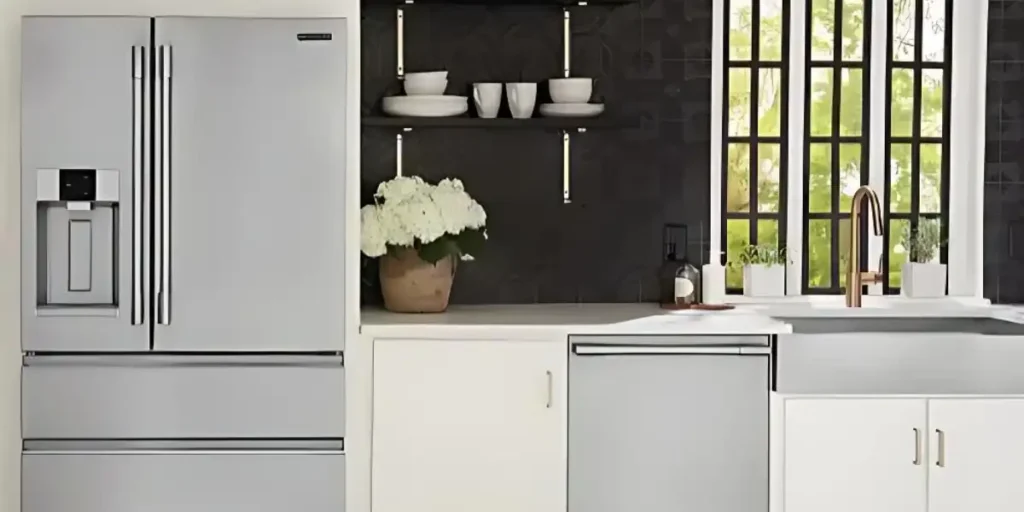
Removing the ice maker can contribute to reduced energy consumption. Ice makers require electricity to operate, and by eliminating this component, you may experience lower energy usage.
This saves you money on your energy bills and contributes to a more environmentally friendly lifestyle.
Simplified maintenance:
Ice makers may require occasional maintenance or repairs. By removing the ice maker, you eliminate the need for specific maintenance tasks related to it.
This simplifies the overall maintenance process of your refrigerator, making it easier to keep your appliance in top condition.
Avoiding potential issues:
Ice makers can sometimes develop issues or malfunctions. By removing the ice maker, you minimize the risk of these problems arising.
This means you won’t have to deal with ice maker repairs or troubleshooting, reducing the likelihood of breakdowns and ensuring that your refrigerator operates smoothly.
Personal customization:

Removing the ice maker allows you to customize your refrigerator to suit your preferences and lifestyle.
You can repurpose the space previously occupied by the ice maker for other purposes, such as additional shelf storage or organizing your freezer to suit your needs better.
Maintenance Tips for KitchenAid French Door Refrigerator Ice Maker
Regular cleaning:
Clean the ice maker every few months to remove dirt and debris that can accumulate.
Use a mild soap and water solution to wipe down the ice maker, making sure to clean all accessible parts thoroughly.
Check the water line:
Regularly inspect the water line that supplies water to the ice maker for any signs of leaks or damage.
If you notice any leaks, address them promptly to prevent water damage to the refrigerator.
Defrosting the ice maker:
It’s important to defrost the ice maker regularly to prevent ice build-up that can hinder its performance.
To defrost, turn off the ice maker and unplug the refrigerator. Use a hair dryer or heat gun on a low setting to carefully melt any ice that has accumulated.
Replace the water filter:
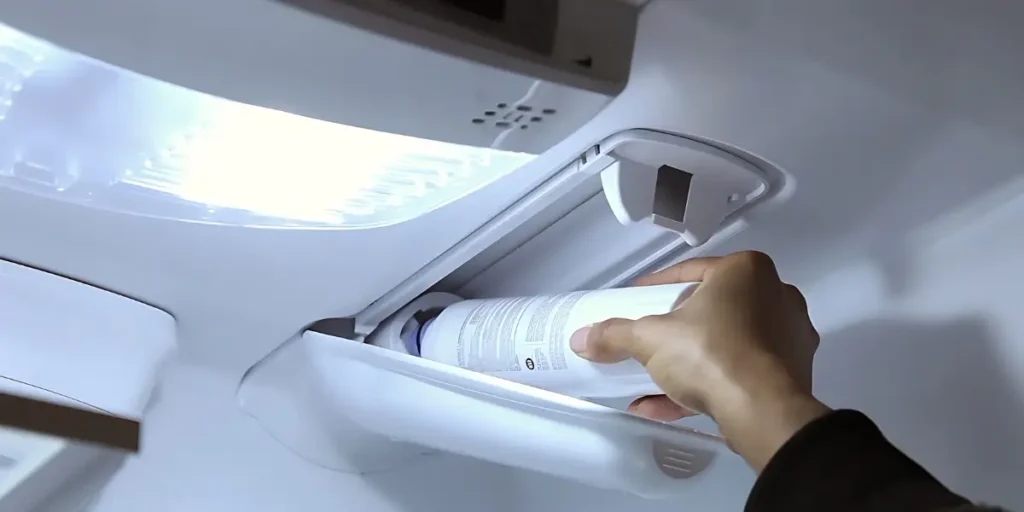
The water filter in your refrigerator ensures that the ice is made with clean water.
It’s crucial to replace the water filter regularly according to the manufacturer’s guidelines. This helps maintain the quality and taste of the ice produced.
Unplug the refrigerator before cleaning:
Before cleaning the ice maker, always unplug the refrigerator from the electrical outlet.
This precautionary step prevents the risk of electrical shocks while handling the appliance.
Handle with care:
When maintaining or removing the ice maker, be cautious not to damage the water line or the electrical connections.
These components are delicate and can be easily damaged if mishandled.
Protect against water leaks:
Place a towel beneath the ice maker or near the water line connection to protect the refrigerator from potential water leaks.
If a leak occurs, the towel will absorb the water, preventing it from seeping into the refrigerator and causing damage.
Gentle removal:
If you need to remove the ice maker for any reason, be gentle during the process. The ice maker is a delicate appliance, so handle it with care to avoid causing damage.
FAQs
Can I Remove The Ice Maker Without Any Tools?
Yes, you can remove the ice maker from your KitchenAid French door refrigerator without any tools. Simply follow the instructions in the refrigerator’s manual to detach the ice maker assembly.
It usually involves flipping a switch or lever and lifting the assembly upward to remove it.
Do I Need To Empty The Ice Bin Before Removing The Ice Maker?
It is a good idea to empty the ice bin before removing the ice maker. This prevents any ice from spilling or melting inside the refrigerator while you detach the ice maker assembly.
You can transfer the ice to another container or use it before starting the removal process.
Can I Reinstall The Ice Maker At A Later Time If Needed?
Yes, you can reinstall the ice maker in your KitchenAid French door refrigerator if needed.
Keep the removed ice maker assembly in a safe place, and when you want to reinstall it, follow the reverse steps of the removal process. Refer to the refrigerator’s manual for detailed instructions.
Conclusion
Now you’ve unlocked the mystery of removing an ice maker from your KitchenAid French door refrigerator.
Safety comes first as you disconnect power and carefully manage screws and wiring. With your new knowledge, you can free up storage space, simplify cleaning, and reduce energy consumption.
It’s your fridge; enjoy customizing it to your needs!

